If you have previous company data from another POS (Point of Sale) system, you’ll need to import that data into Artisan.
Our Support Team can assist you with the import, but if you wish, you can do so on your own.
Just Keep in Mind…
Importing data from another POS is always a bit tricky for any system, because each POS provider stores data differently. Artisan has built-in import tools to bring in Customers, Items, Inventory Counts, Vendors, Categories, Store Credits, Gift Cards, Loyalty Points, A/R Balances, and more. Rarely, we can bring in Purchase Orders and Past Sales using custom tools and procedures from behind the scenes (provided that this data can be exported out of your current system in a usable format). Getting the data out is usually the major stumbling block.
Extracting data from another system in a reproducible format is the critical key to success. Sometimes there are export tools built into the programs. Other times, you have to run a report and then export out the data from there. Or, the publishers of the software provide assistance due to required passwords and intimate knowledge of the system.
In all cases, the goal is to get data in an acceptable format so you can use it in Artisan.
Importing Data Guidelines
Each data type (inventory item or customer record, for example) must be one line per record. A record, for example, is an individual customer or a specific item (ex. John Smith or blue t-shirt).
Then, each column of the data needs a distinct field, such as First Name, Last Name, Mobile Phone, Email, etc. Each of these fields should have the very top row of the data identify what that column contains and should correspond to the name of the Artisan field. If CerTek is assisting you with the import, then often we write a script that will assign the field labels. Here are some mapping details.
Acceptable formats are .XLS, .XLSX, .CSV, .TXT, and .DBF. These formats may be imported directly into Artisan. The preferred method is .XLSX or .TXT which is tab delimited text. Sometimes this is labeled .TAB which may be renamed or imported as well.
Ideally, the data should not have extra records, such as page numbers and report headers. Sometimes, though, these will just be ignored. If CerTek is doing the import for you, then we can remove these extra lines as part of our scripts.
The process for CerTek normally works this way:
- Sample Test Import: We receive/gather import data in one of the above formats and write a script to clean it up and assign field labels as necessary.
- We provide you a working copy to experiment with to confirm a successful import of data.
- We update the scripts as necessary and provide you with new data as needed until we get it right.
- We plan a date. Your data gets extracted for the final time, for example, on a Monday night. Then, we run the scripts, import the data, and you go live on Tuesday.
You may conduct training at any point, but often it is a good idea to do the training with the Sample Test Import data.
Verifying The Import
There are several ways to evaluate the imported data. Here are some ideas.
- Count the number of customers you currently have and compare those to imported data in Artisan, which displays the number of records at the bottom left of the Customer Screen.

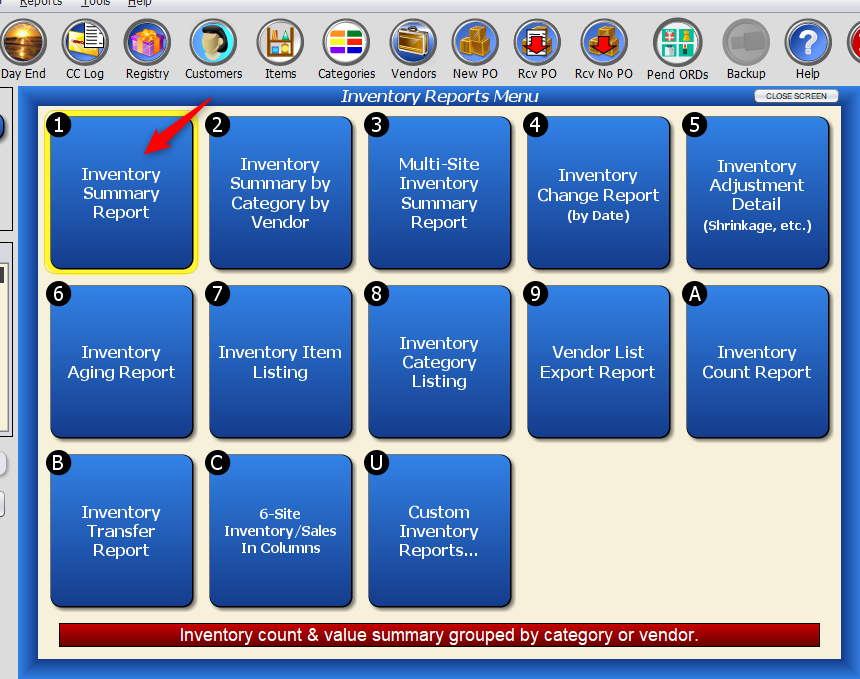
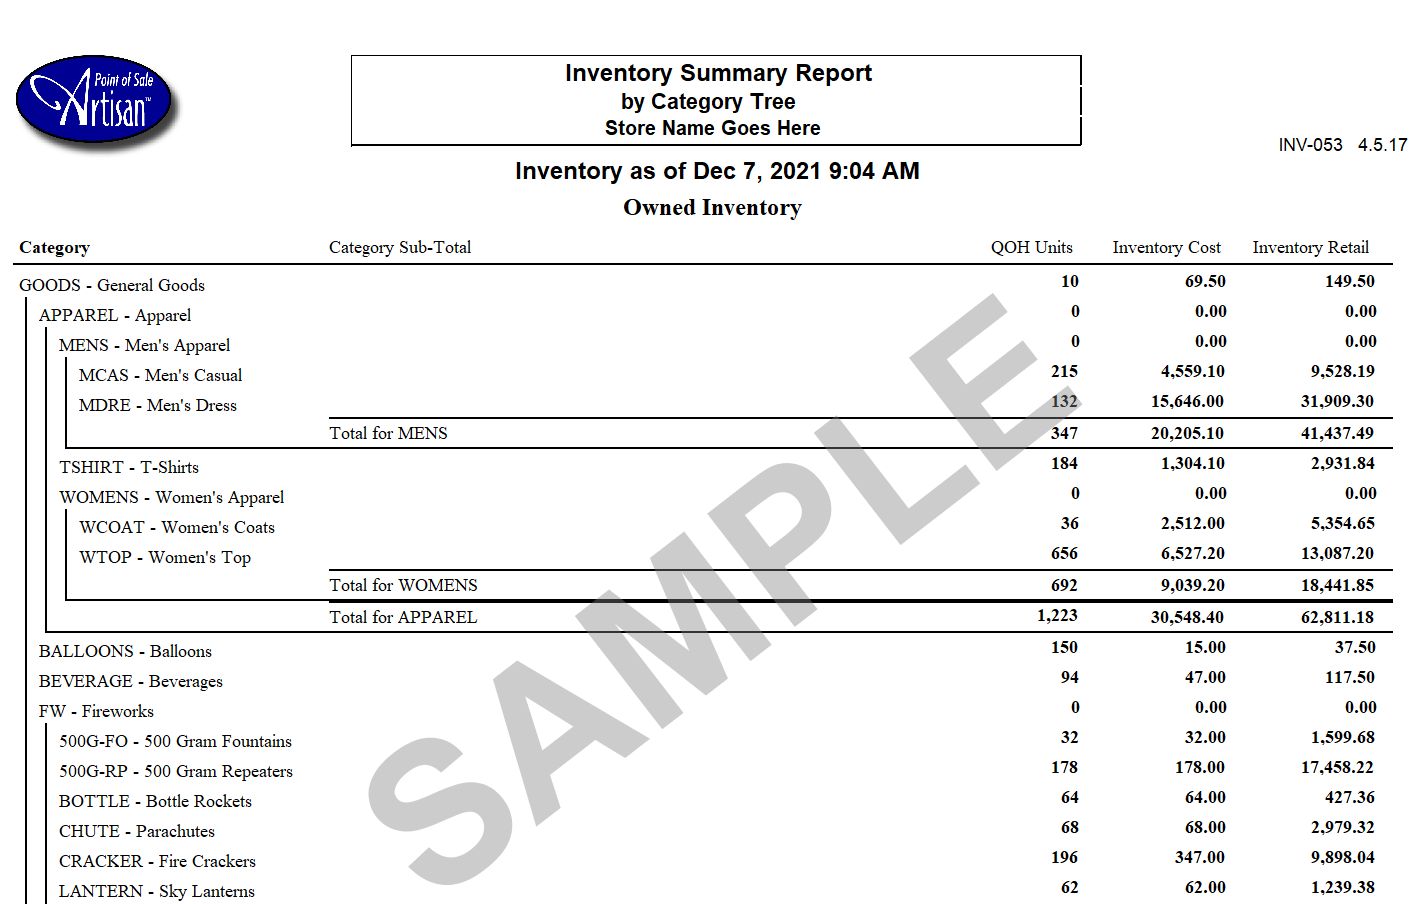
- Run an Inventory Summary Report and compare units, cost, and retail values of your inventory. (From the “Main Menu,” click on “Reports,” “Inventory Reports,” then “Inventory Summary Report.”)

- Pick a few random customers and compare the details such as Name, Contact Info, Notes, and Custom Fields by opening up both records and comparing between both. You should use customers that are active and that you have plenty of details on.
- Follow the same process as above for Items and Vendors.
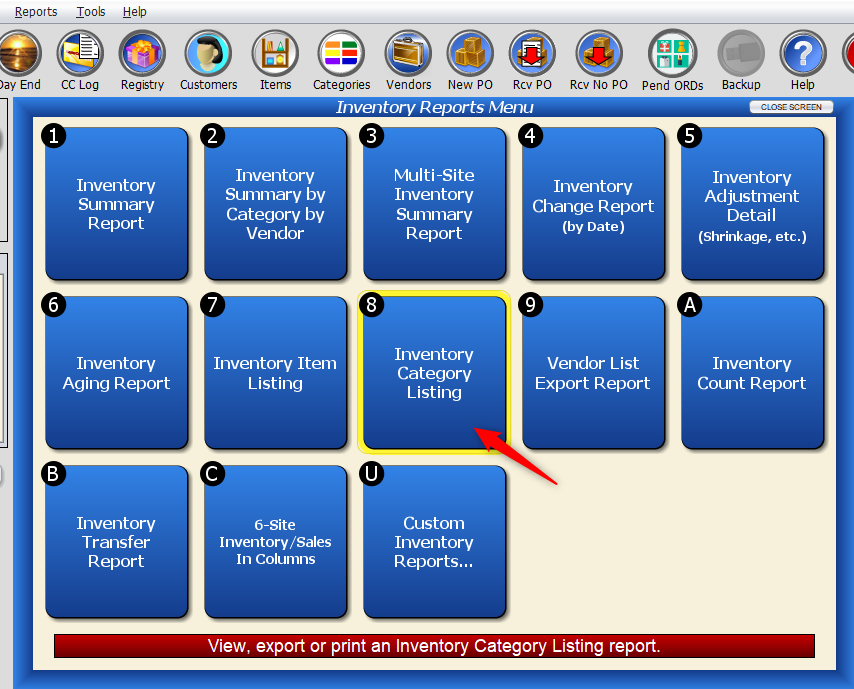
- Look at the Category Report in Artisan and confirm that this looks correct. Sometimes, we agree to convert categories to an updated format. If so, make sure that this new format is acceptable. (From the “Main Menu,” click on “Reports,” “Inventory Reports,” and “Inventory Category Listing.”)

- Run Store Credit and Gift Card Balance Reports.
- Make plenty of mock sales and scan different types of barcodes as necessary. Compare a UPC code to an in-store printed tag. Make sure that everything scans.
- Check for any items that are on consignment.
- Other settings such as Sales Tax, Payment Types, and Program Options are not imported, but will need to be set up before you go live (we’ll go over this in our Let’s Get Started Guide, but you can view some of this info here).
- It is a great idea to keep a log of what things must change before you go live. We can build these into a blank copy of Artisan and use that as starter data during this process, or you/we can implement these changes after you receive your final data.
Import Worksheet
To assist in your Import, you optionally may provide us with the following Import Worksheet.
We will work with you to bring over your data from your current system. Please assist us by providing these details about your current system:
- List 2 items (SKUs) that you have in inventory and have quantity on hand. Provide the following information:
- Product Code that you would type to make a sale.
- Description that comes up on the screen.
- Price that comes up.
- What is the cost of this item?
- What department, class, sub-class does this item belong to?
- How many of these do you have on hand?
- What is the total value of your inventory at cost and retail?
- What is your Consignment Inventory Value?
- Provide a few screenshots of Item Records (which includes the field names) for customers that you have all the information you like to keep track of.
- Do the same as the above for Items and Vendors.