You can specify certain settings for different payment types in Artisan. In this article, we’ll go over how to edit your settings for accepting Checks.
Business and Financial Settings
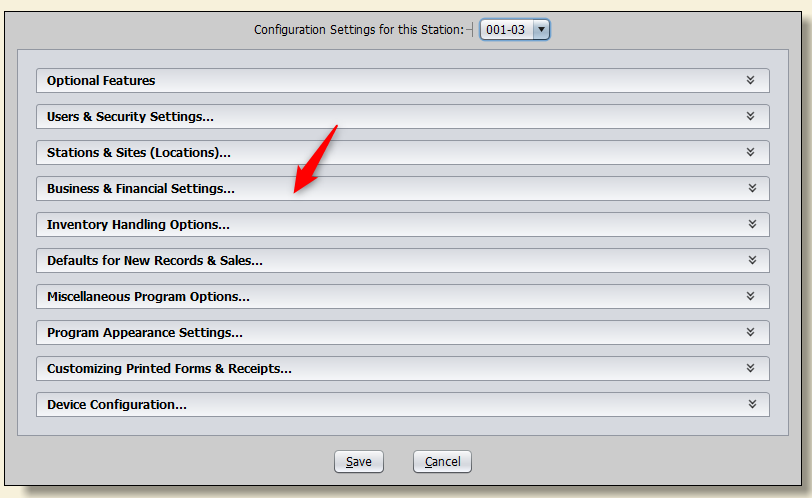
Open the “Configuration Settings” screen and click on “Business and Financial.”
Next, click on “Payment Types and A/R Terms.“

Click on “Check” and click “Edit.”

This opens the “Check” payment type screen.
Basic Info Tab

On the “Basic Info” tab, you can adjust a few options. “Open Cash Drawer?” controls if the cash drawer opens when you accept a check.
“Authorization to Use as Payment” determines which authorization level can accept checks. In this example, Clerk Level 1 and above can accept checks.
You can control if the customer should be available for payment, if tenders can be adjusted with this payment, and if it should be included in any Day-End reports.
Your Deposit Group Number corresponds the number in the Payment Types and A/R Terms section. To learn more about Deposit Group Numbers, click here.
You can also control if you want checks to only be used on non-taxable items or not.
Prompting Options Tab
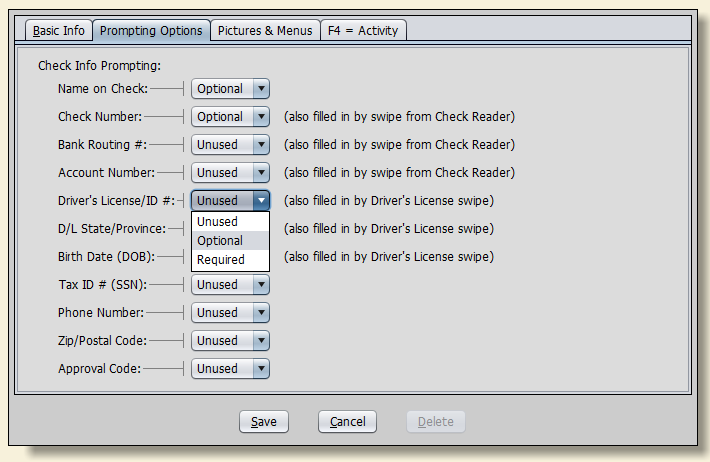
This tab controls what Artisan will ask you when taking a check as a payment type. The selections are “optional” or “required.” Any selections that are not currently used will say “unused.”
For example, if you want Artisan to remind the cashier to ask for the customer’s driver’s license, you can choose that setting here and choose either “Optional” or “Required.”
Pictures and Menus Tab
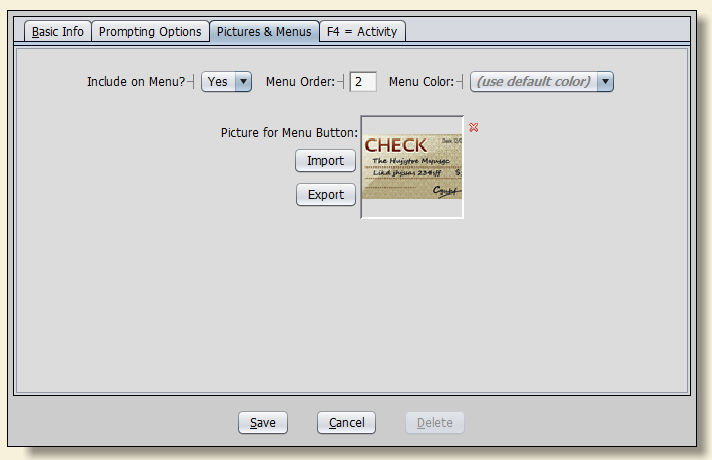
This image will show on the payment method screen if you want it to.
You can also change its menu order and the menu background color.
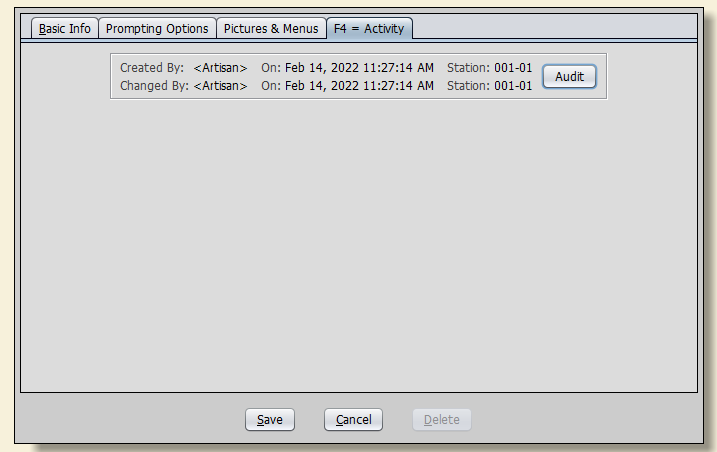
F4=Activity Tab
This shows when (or if) there has been any changes to this payment type.