What are stations and sites? In Artisan, stations are your registers. Sites are your locations.
Each site requires a key, given to you from our Sales Department. You’ll have already inputted this key when you first switched from Sample Data to Real Data.
However, you will need to enter an additional key if you’re opening a new location, or to license certain features in Artisan. Learn more here.
Setting Up Stations and Sites
You’ll be able to see which station and site you are at by looking at the top of the left-hand sidebar in the Artisan window.
The station number (“001-01” in this example) has two parts. The first part (“001”), is your site number; the second part (“01”), is your station number within that site. The label will say “Multi-Store Station” if your data is enabled to run at multiple sites. Otherwise, it will just say “Station”, and the site number will always be “001”.

To set up your stations and sites, head to “Tools” and “Program Options.”

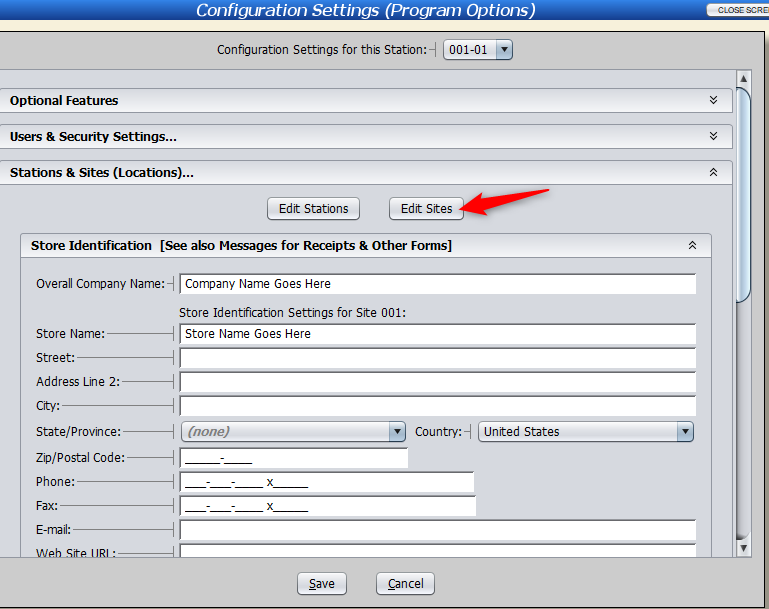
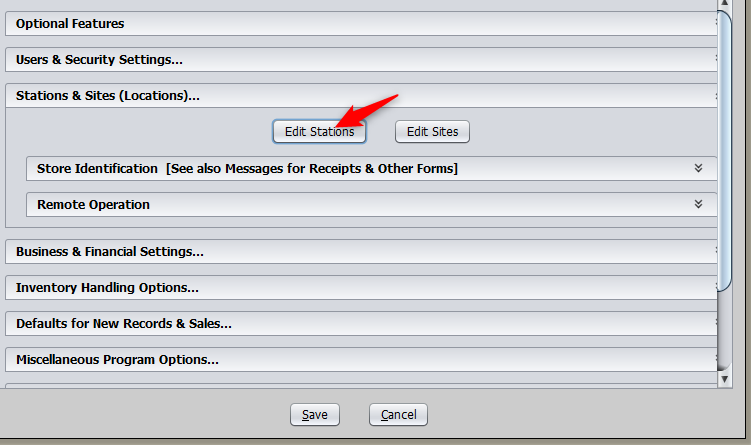
Click on “Stations and Sites (Locations).”

Setting Up Sites
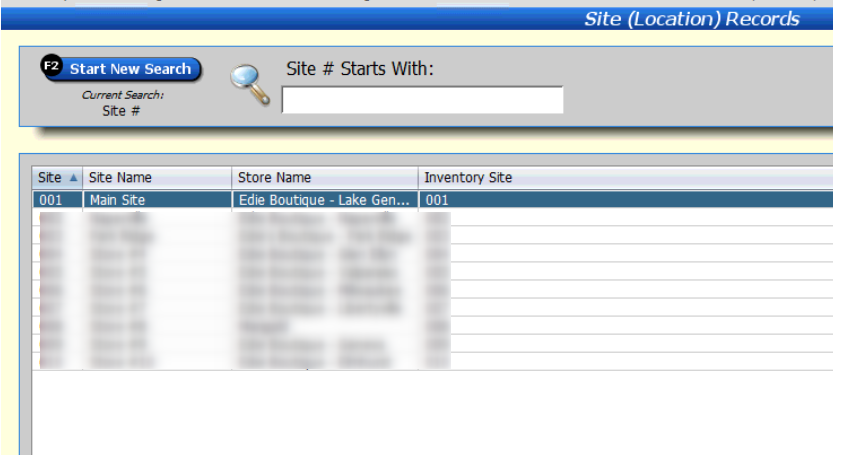
From Stations & Sites, click on “Edit Sites” for a list of your sites. These can be physical stores, departments in a large store, or separate inventory storage locations.
NOTE: Multiple stores or department require you to have a Multi-Store license for each site; inventory-only locations require a (single) Multi-Store or Advanced Inventory Module license. Contact our sales team at (877) 723-7835, or an authorized dealer, if you need to purchase additional licenses.
This will open up a list of all your locations.
Press F3 Add to create a new location and input the site number, location, and other relevant information.
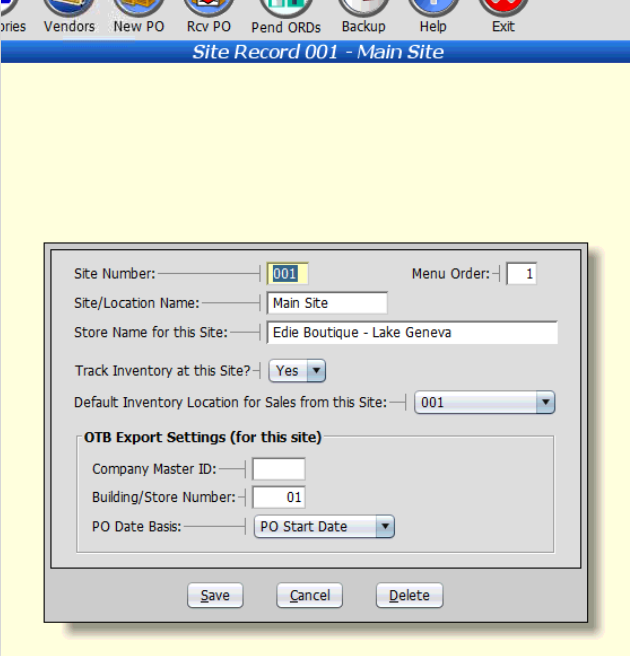
Click “Save.”
Store Identification
Each site (location) needs its own Store Identification (this includes your business name, location, phone number, etc.). This helps you separate/distinguish your locations (if you have more than one). For example, your main location and a downtown location.
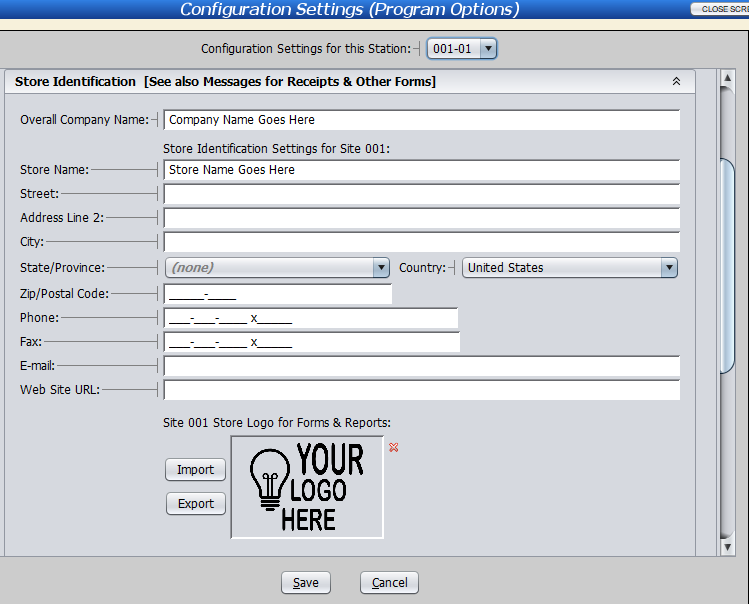
To set up a site’s identification, click on “Store Identification” (under Stations & Sites).

Input the company name, address, and other relevant details. Except for Overall Company Name, all of these settings are stored separately for each site.
Note: The Store Identification pane also includes the Cash Rounding setting, since it’s also a per-site setting:

See the Cash Rounding article for more details.
Setting Up Stations
To view a list of all of your stations, click on “Edit Stations.”
Here, you can see all of your stations. If you want to edit the station’s name and/or change its number, click “Edit Record.” We recommend not changing the station name and number unless absolutely necessary, so you remain organized.

Note: You can set up your stations to match your register number. (For example, station number one is at register 01). If a station number already exists (for example, 02) but you would like to use it for a different station, change that station to a number you’re not using (for example, 99). Then, you can use 02 as your new station number.
