1. Install Driver
Before connecting your printer, install the RP-700 driver on your computer following these steps.
Download the driver and double-click on this file.
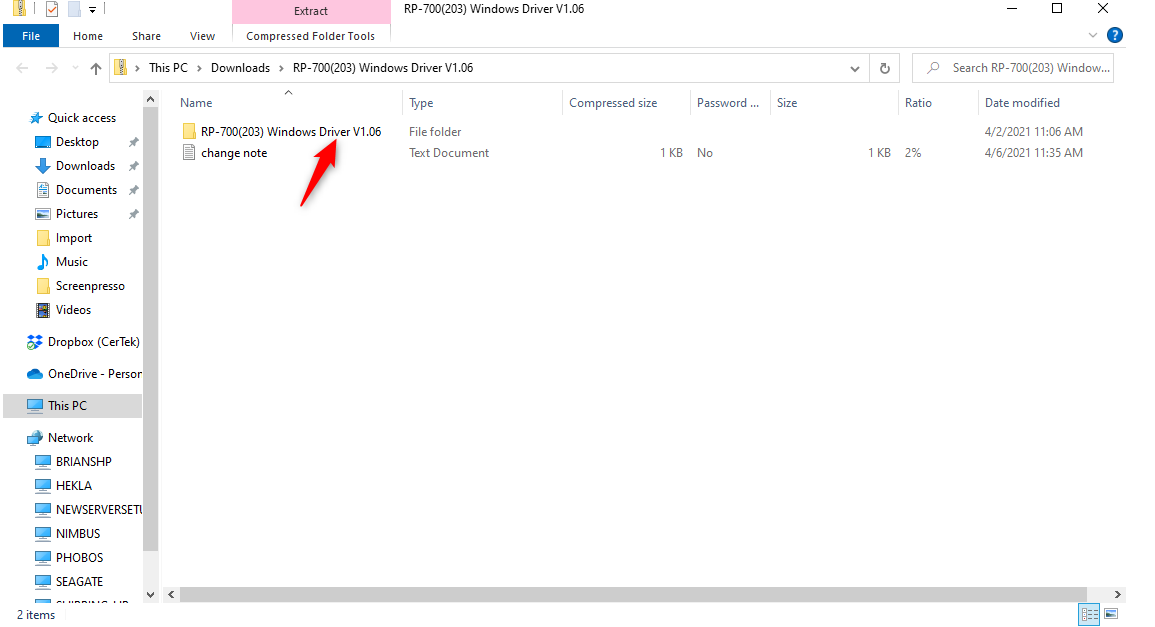
Double-click on the “setup” application file. On the pop-up screen that asks if you want the program to make changes to your computer, select “yes.”

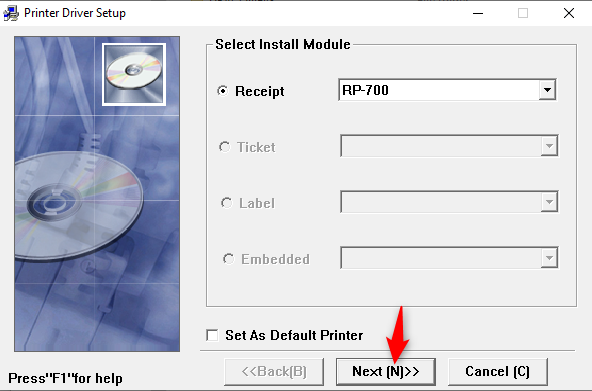
Select “RP-700” from the “Receipt” dropdown and click “Next.”
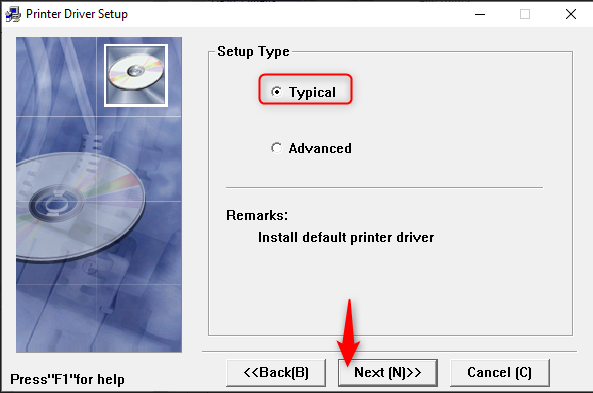
Click on “Typical” setup and click “Next.”
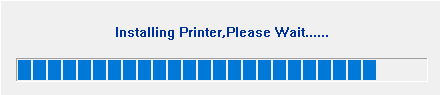
The printer will begin installing.
You’ll receive a confirmation message.

To learn about testing the printer, scroll to the bottom of the hardware setup instructions.
2. Unbox the printer
Take the printer and its components out of the box. Remove the plastic wrapper around the printer.
3. Connect the power cord
Locate the power cord and connect it to the power adapter. (Do NOT connect the printer to a power supply or turn the printer on until you have safely inserted a roll and closed the printer cover).
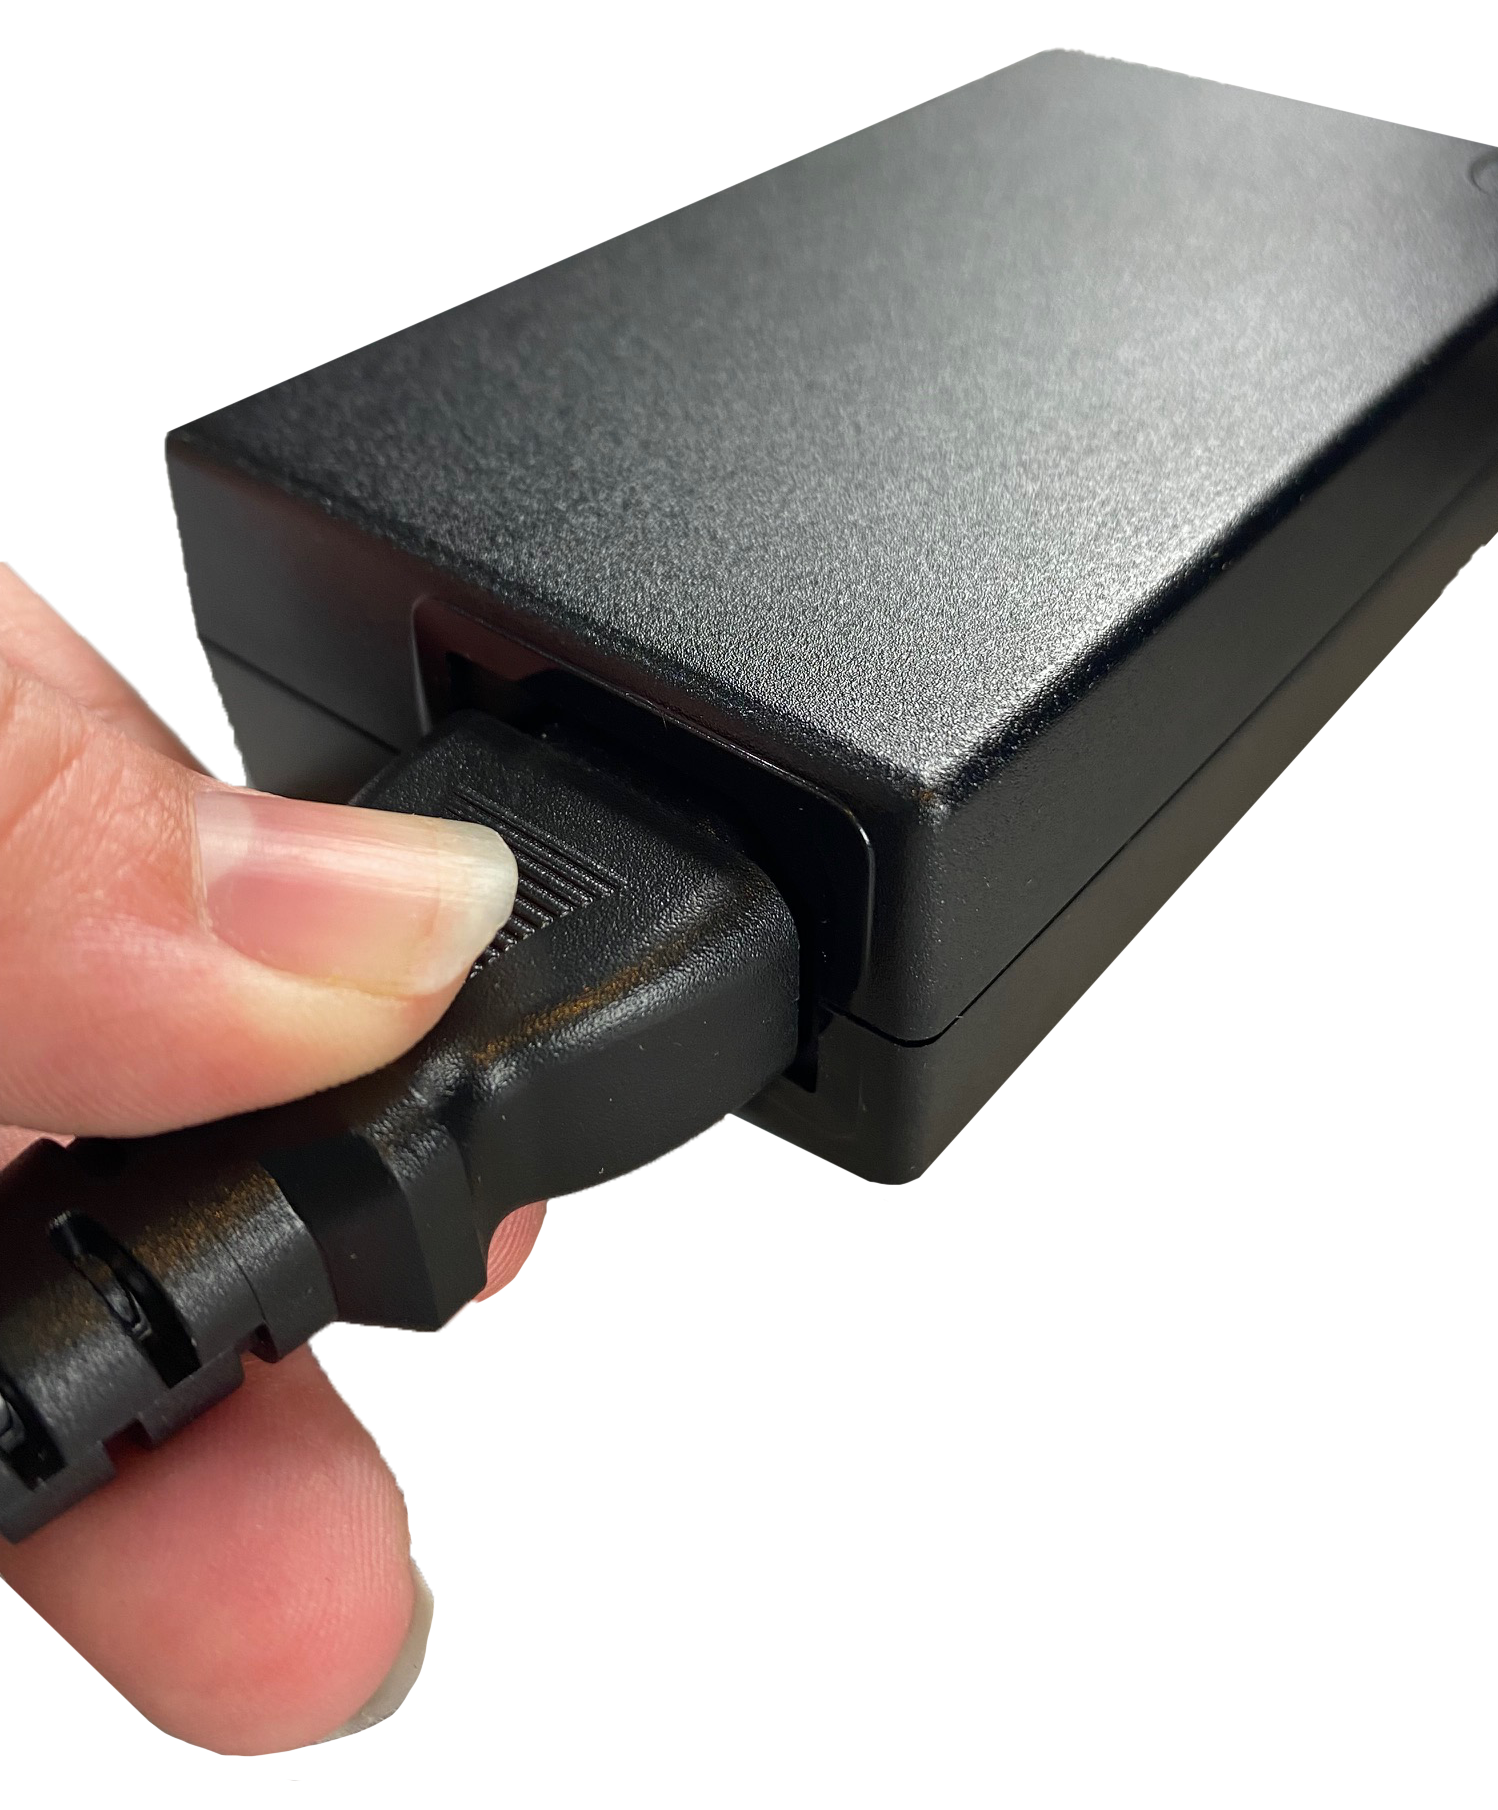
Connect the other end to the printer.

4. Connect the USB Cable
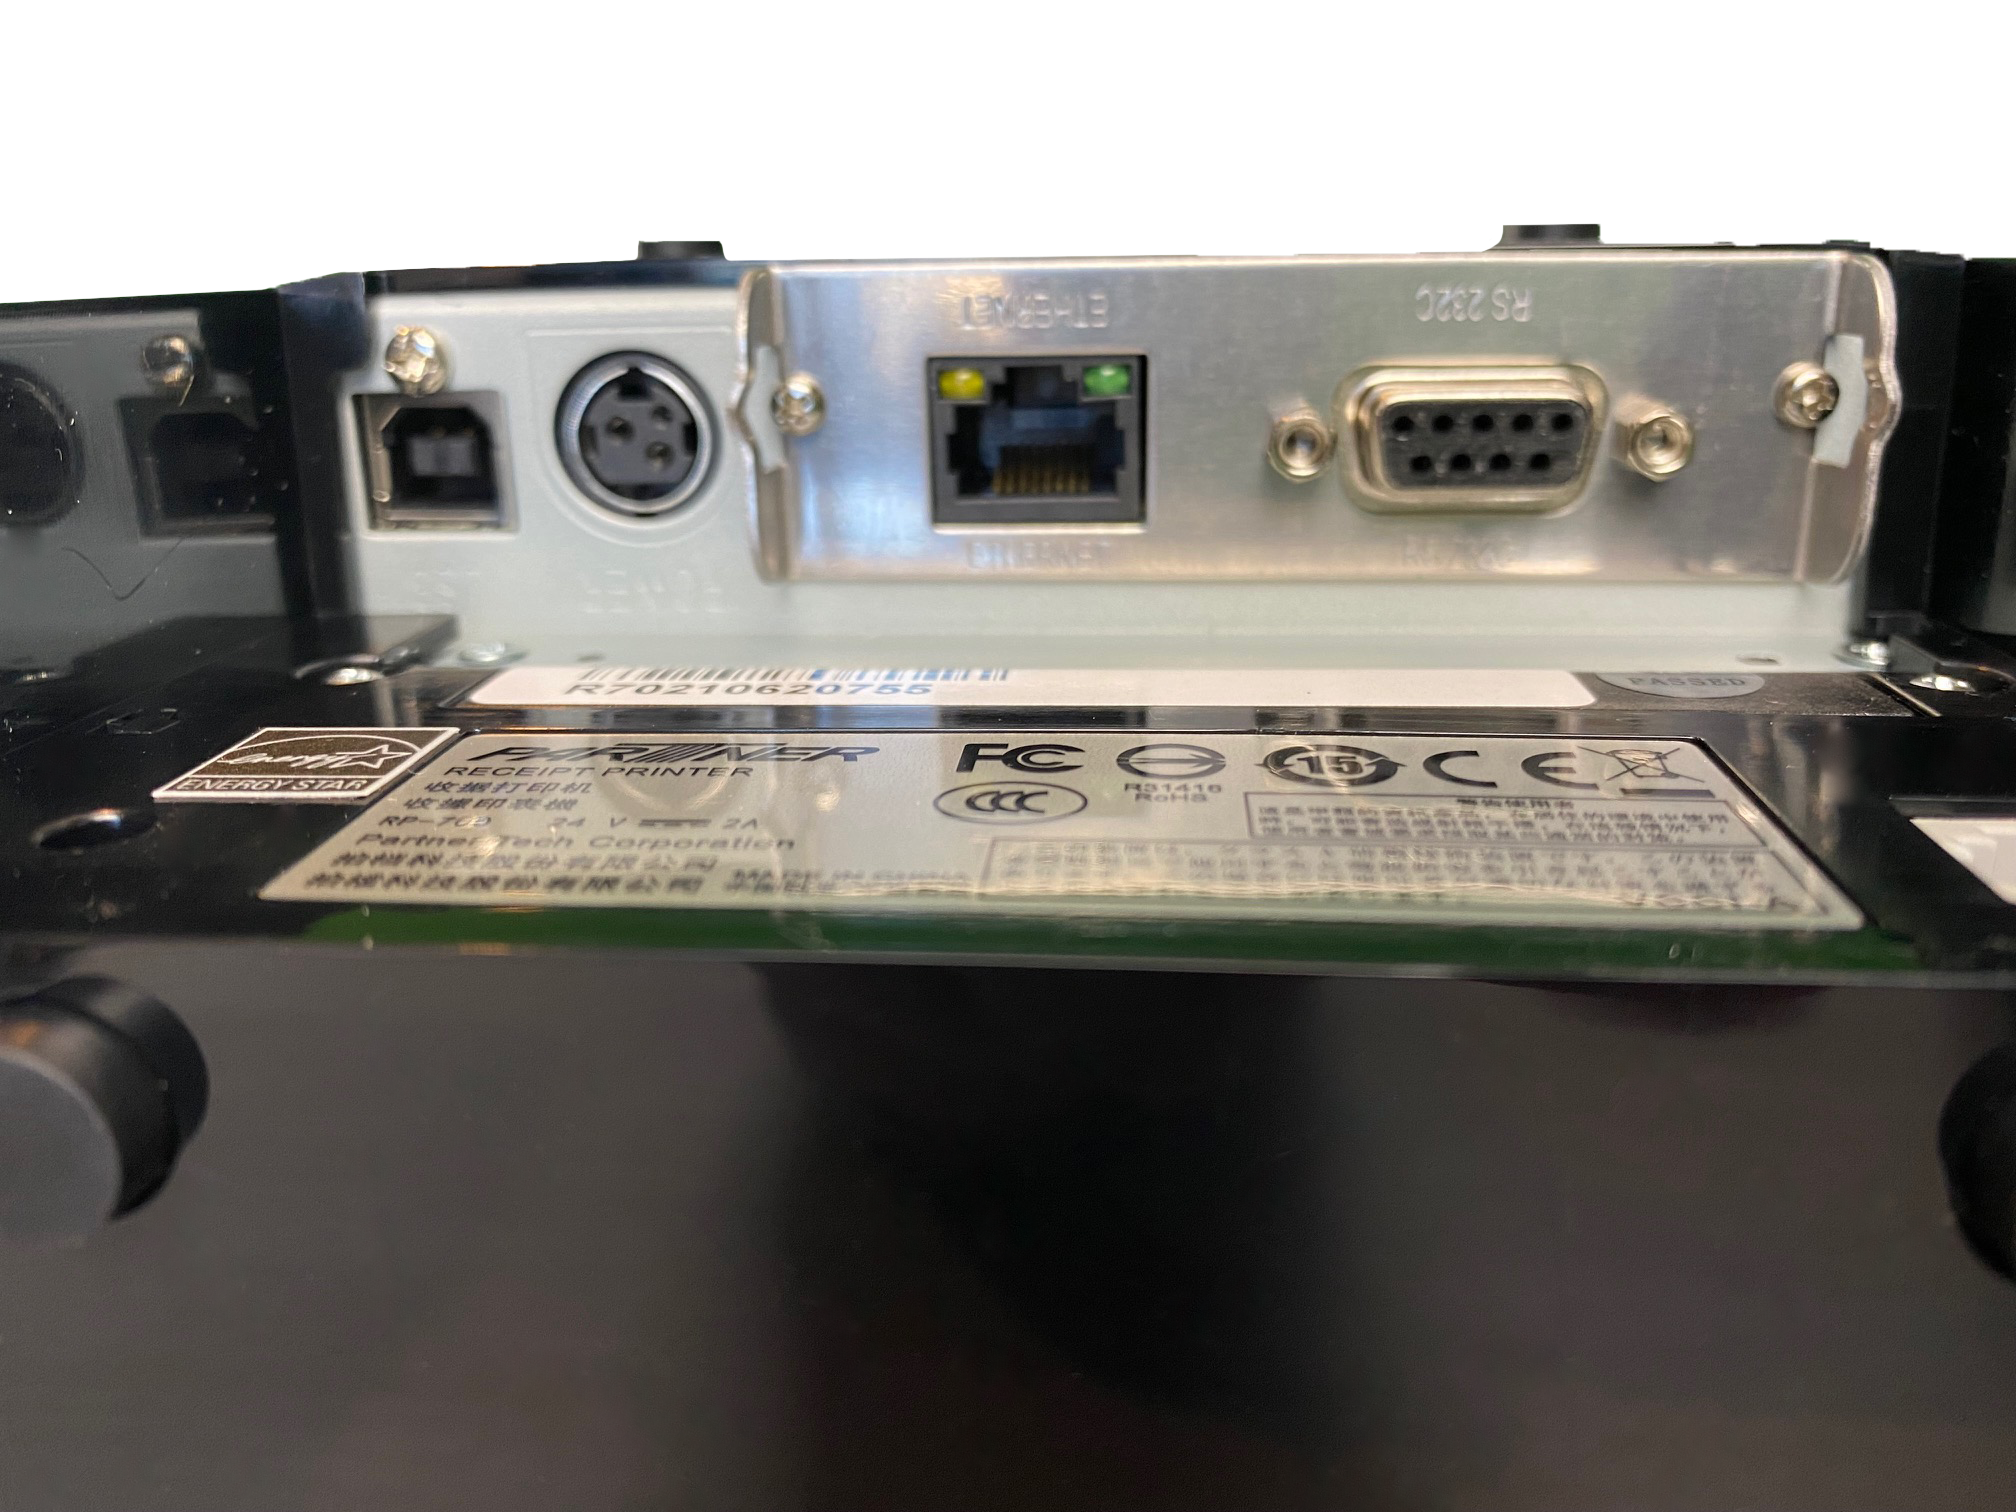
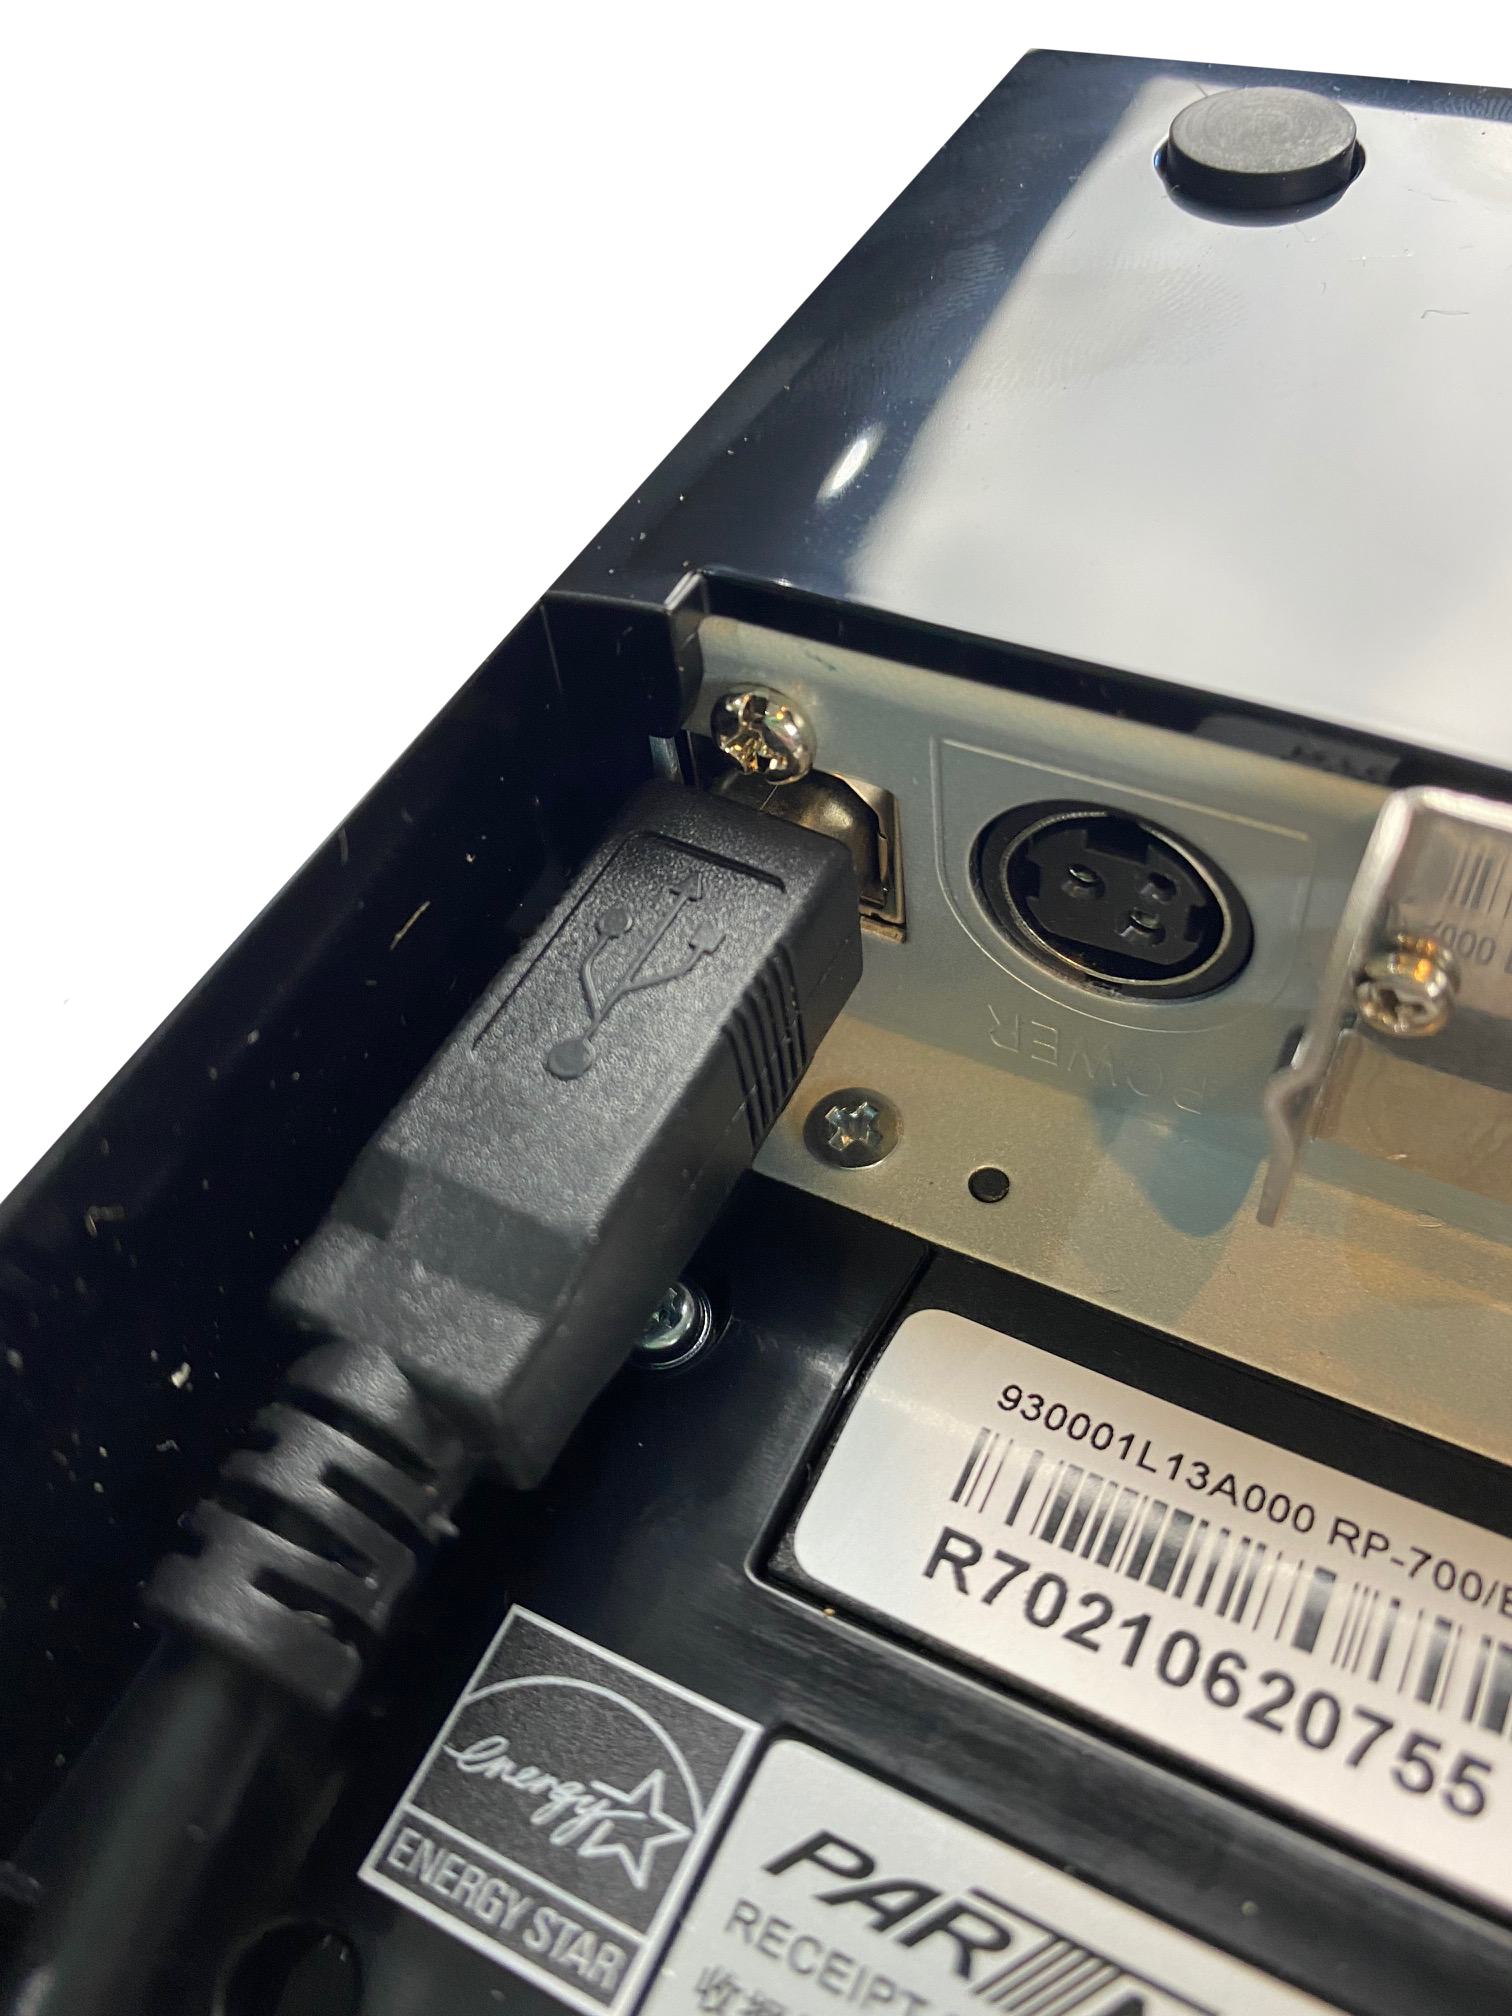
Locate the USB cable and connect one end to the printer.
Connect the other end to a computer port.
5. Insert paper roll
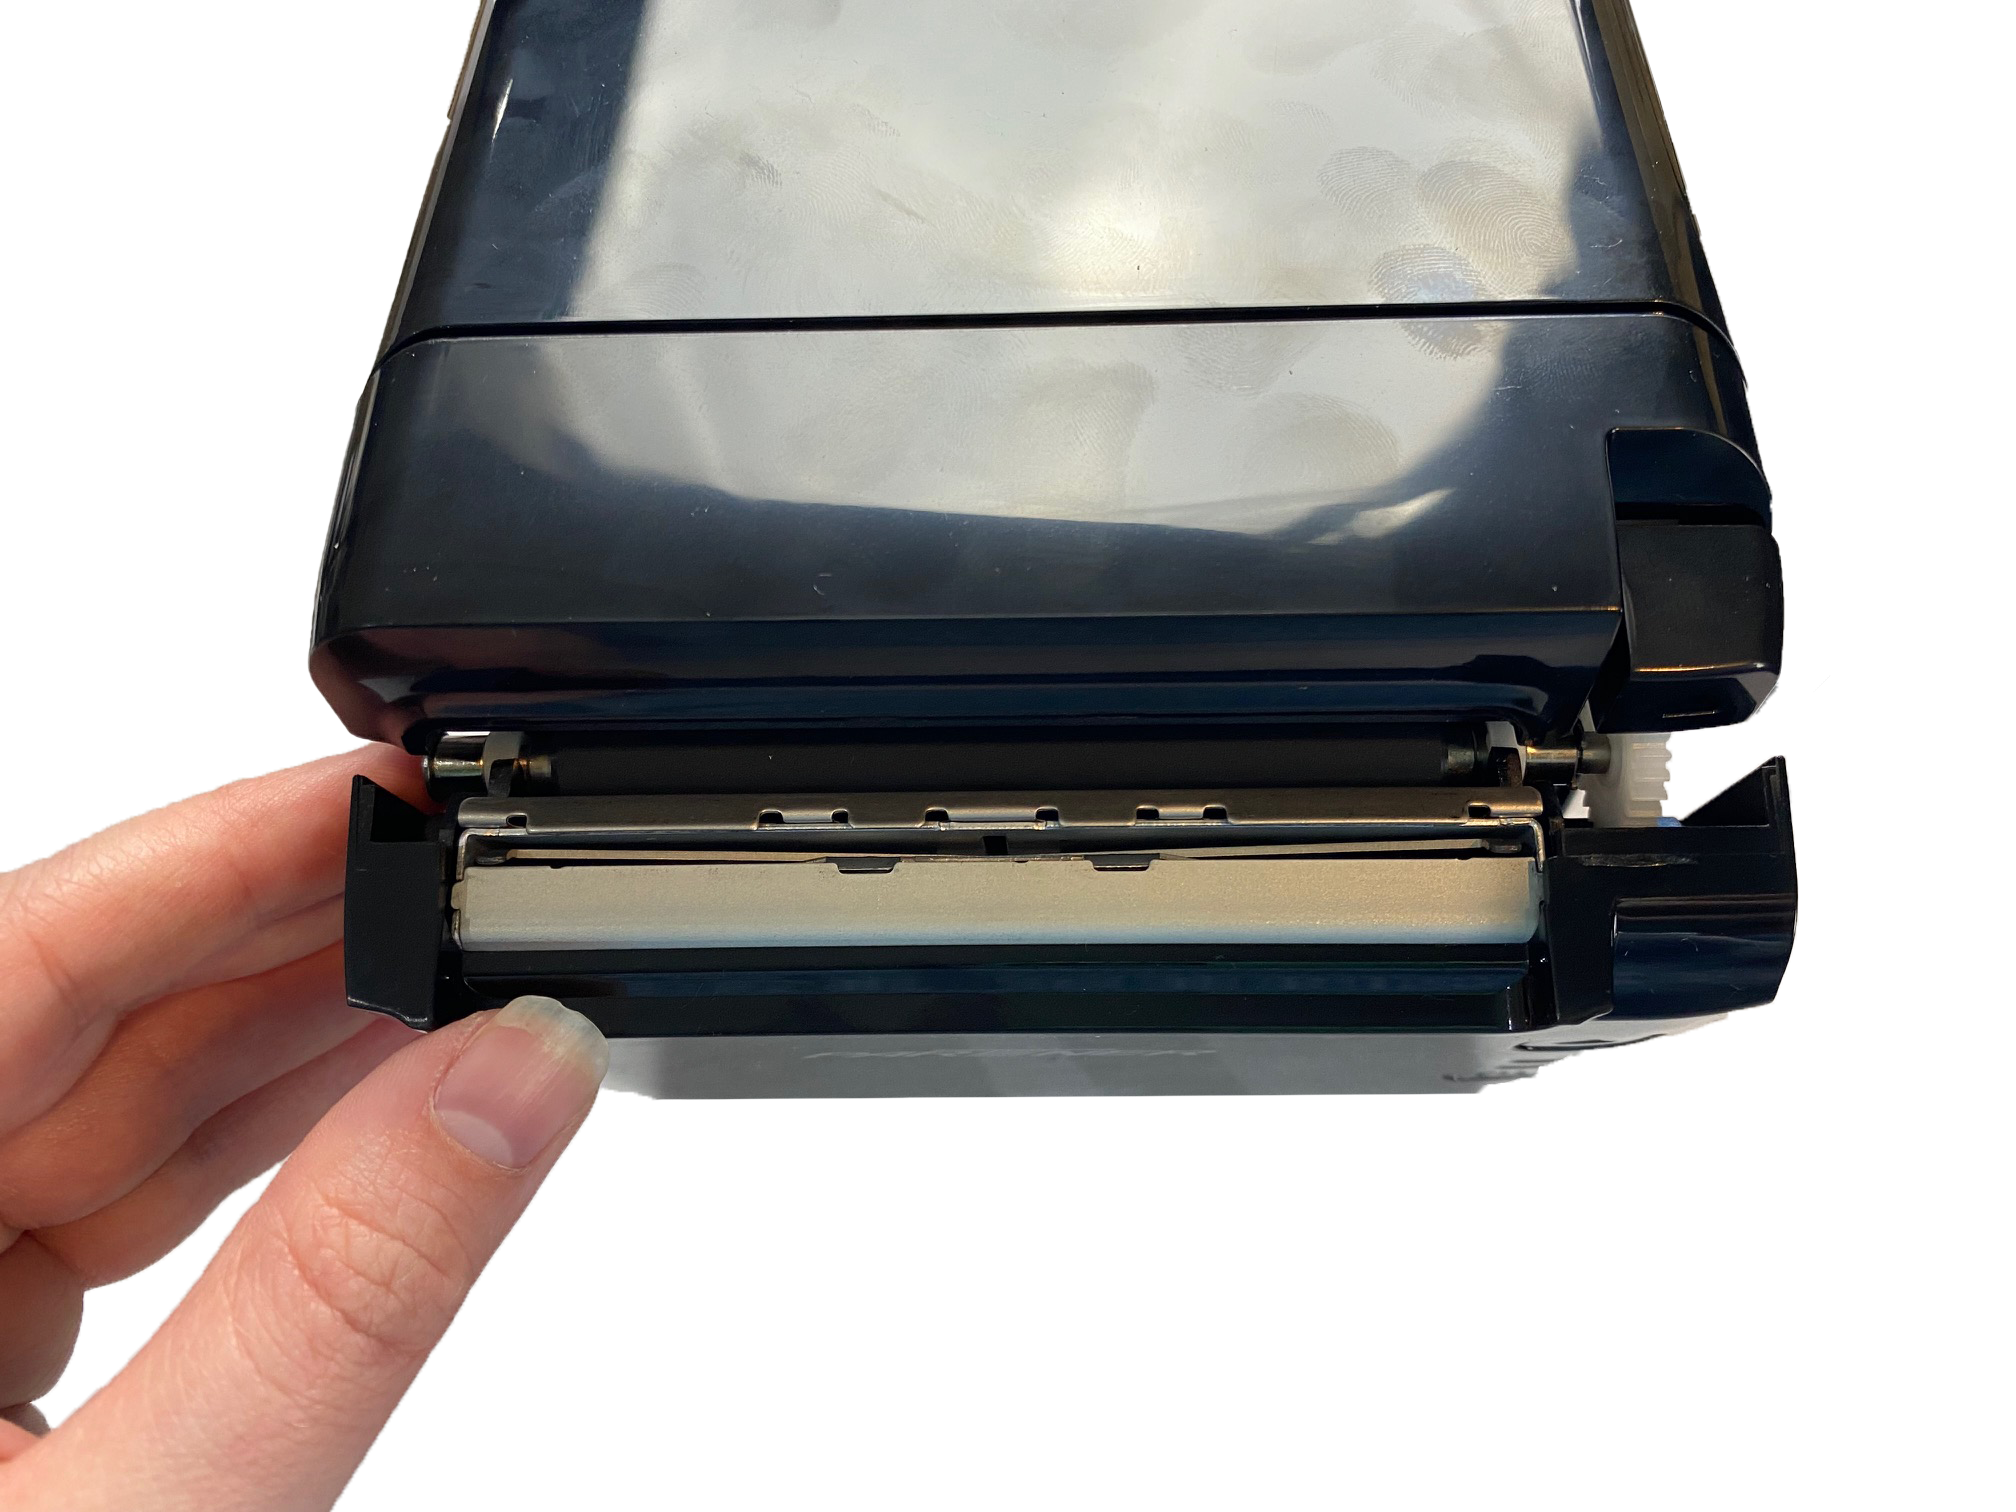
Carefully push up on the button to open the printer cover.
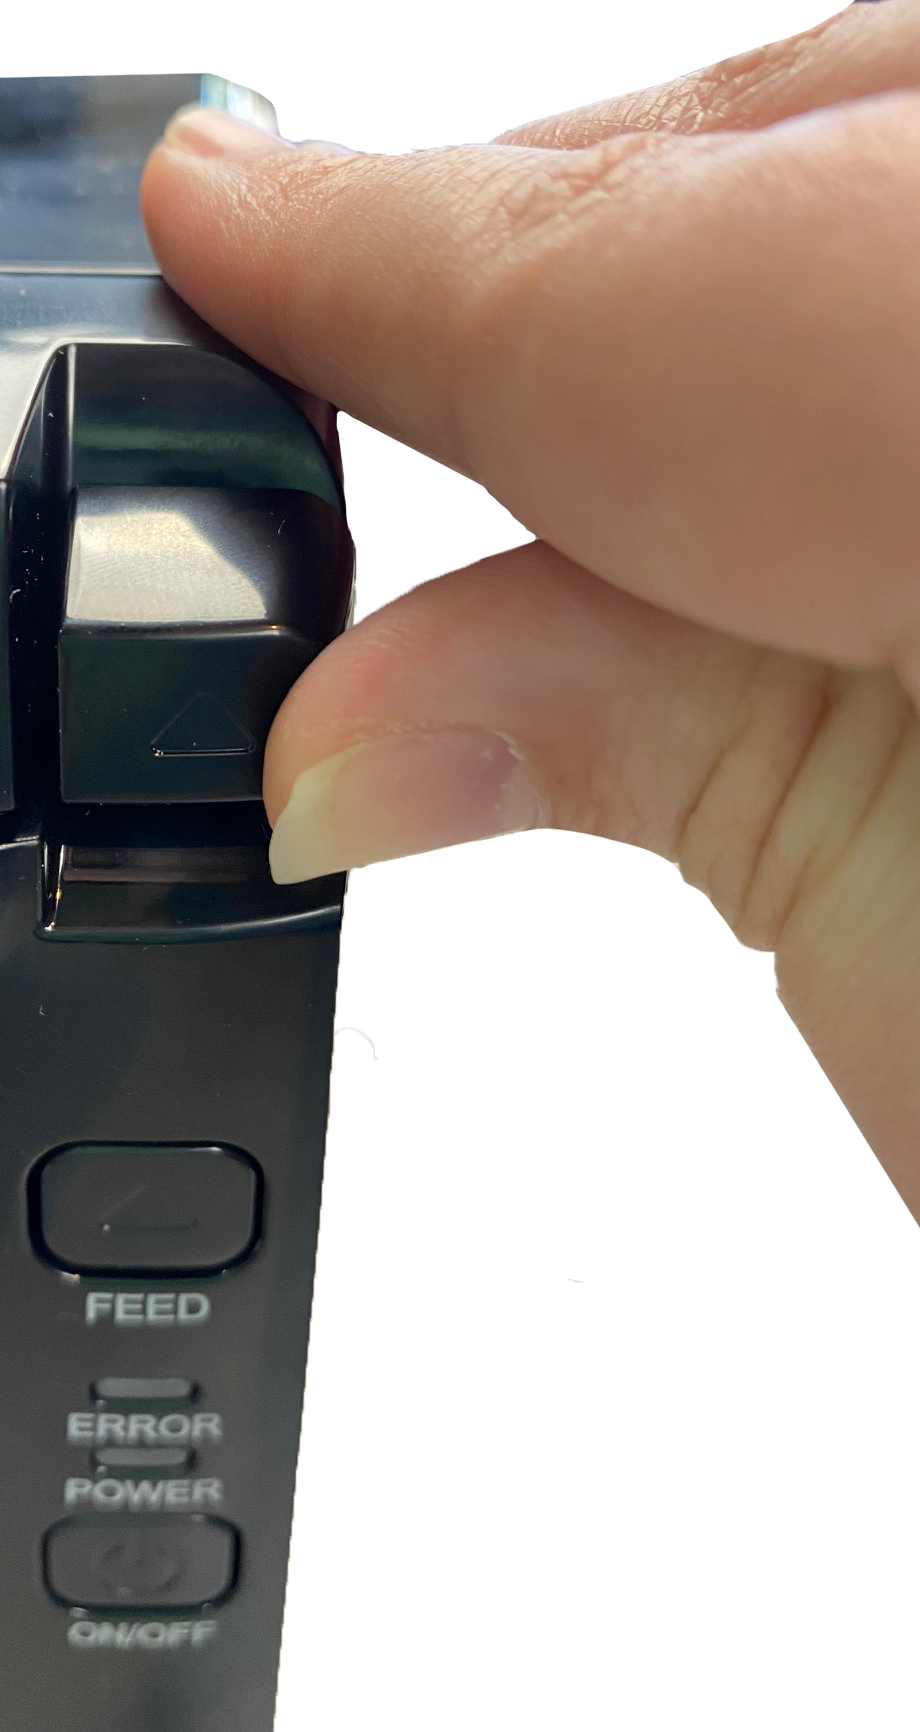
Gently lower the cover opening so you have access to the inside of the printer.
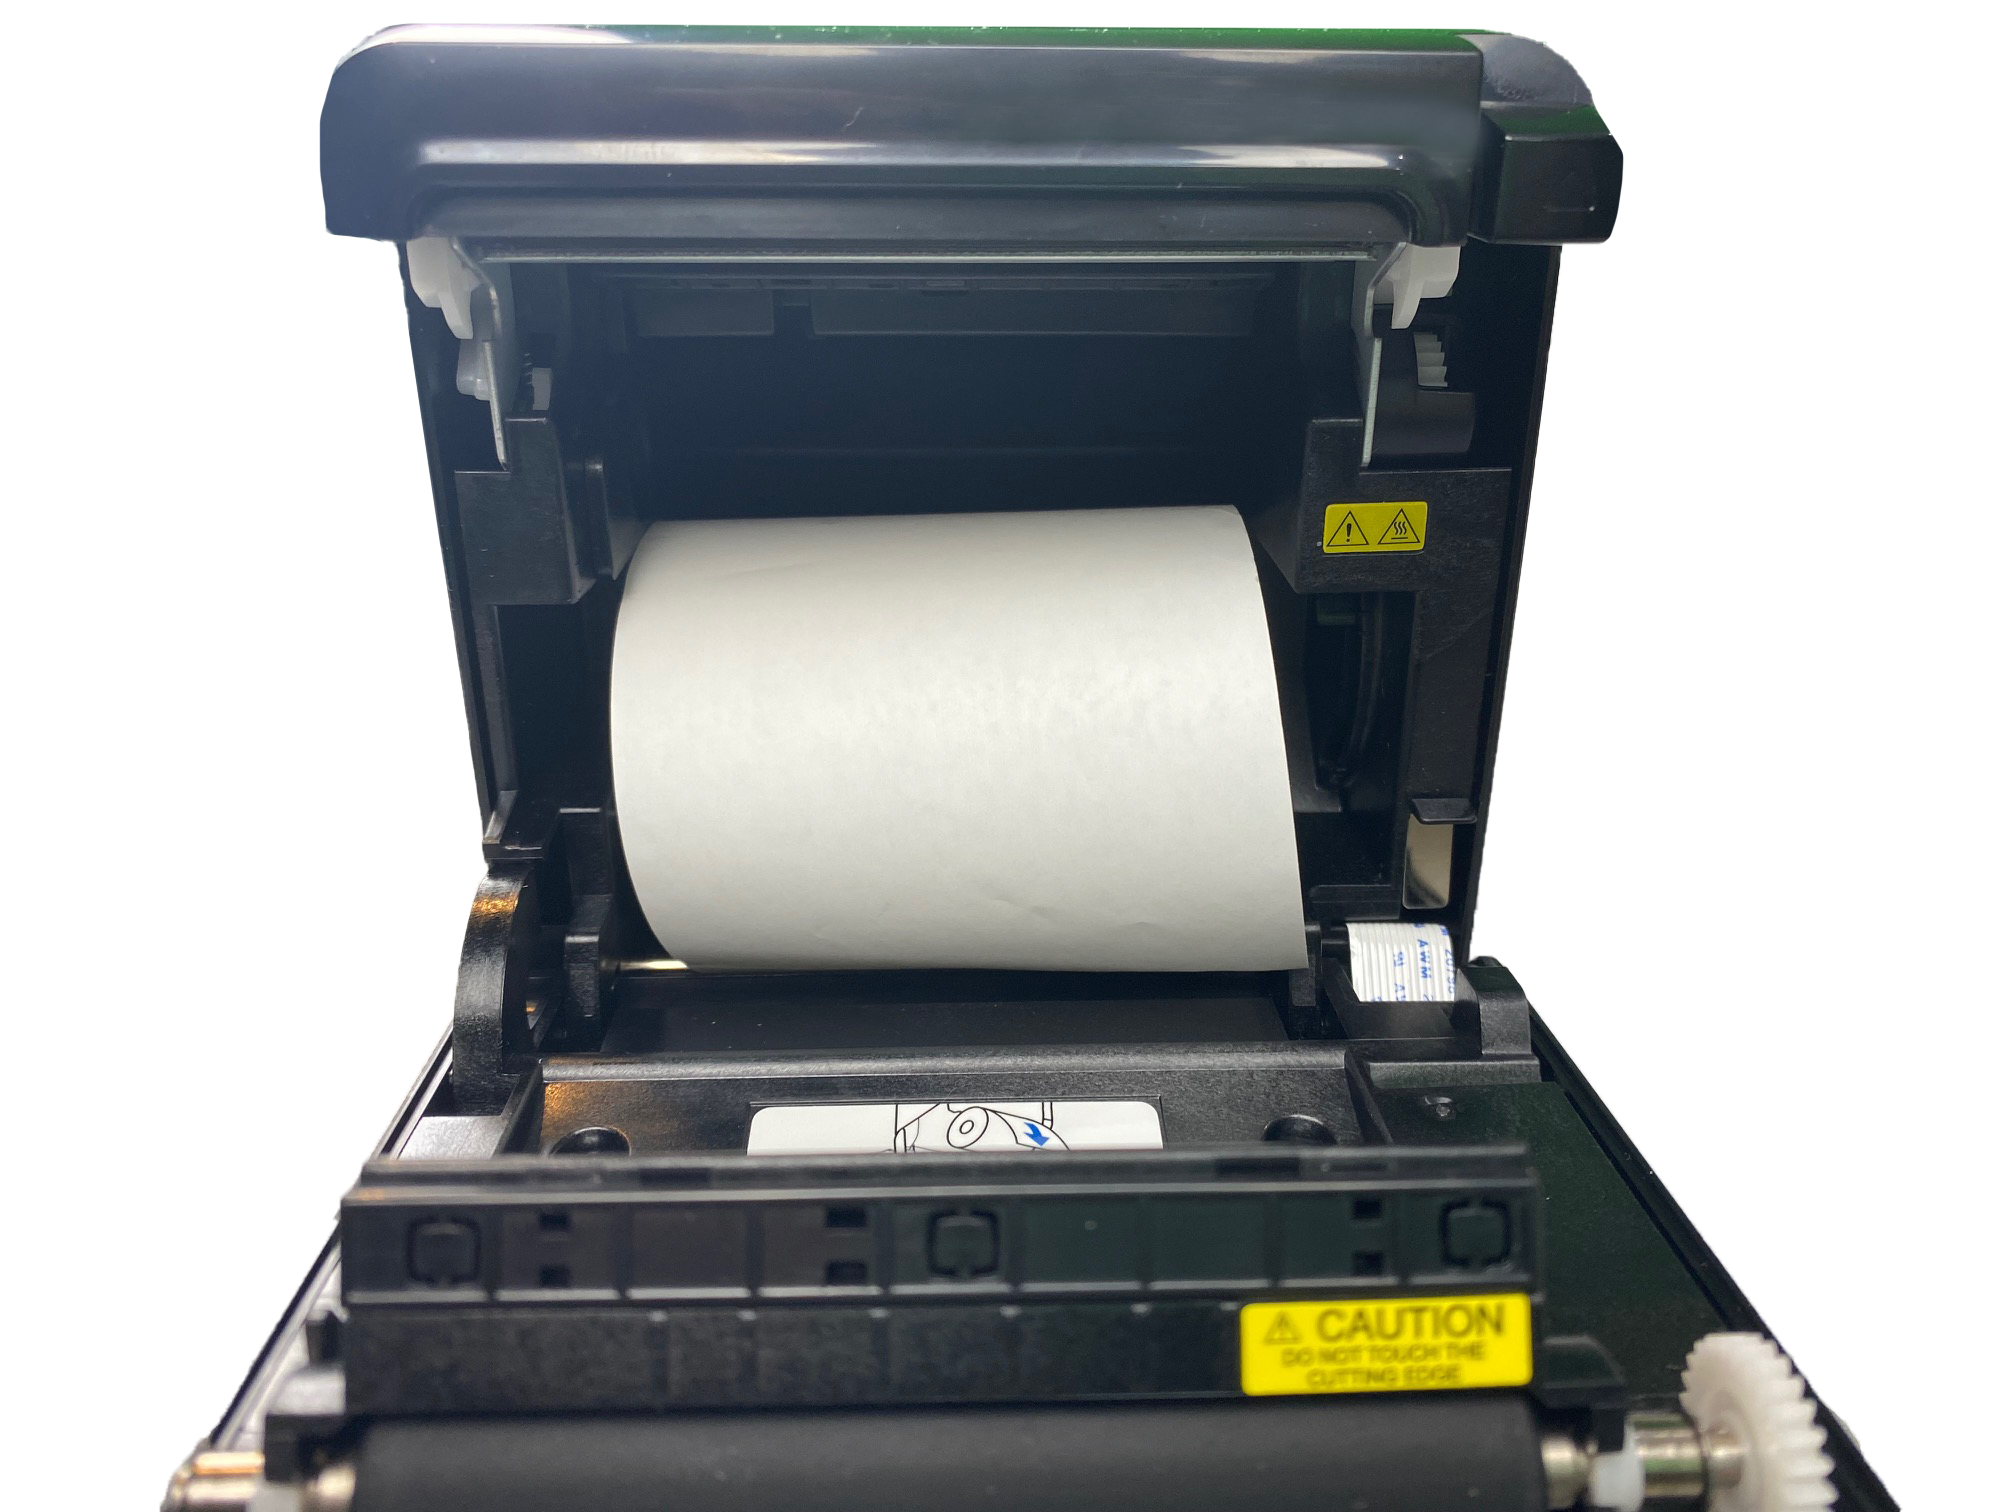
Insert a paper roll as shown.

6. Connect to power supply
Connect the power cord to a power supply.
7. Configure Printer
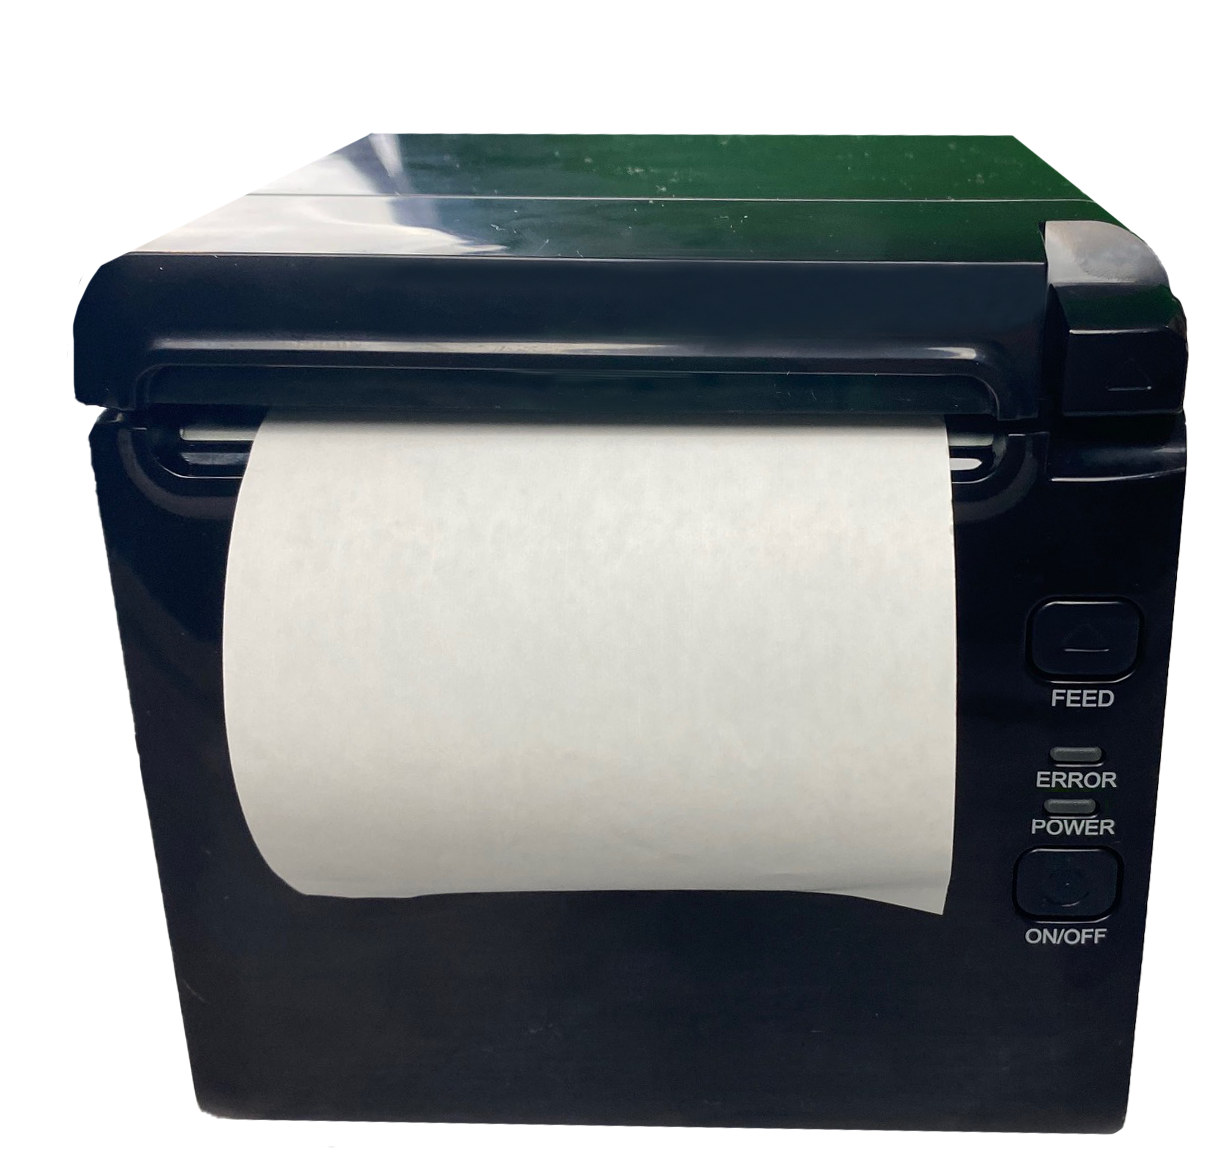
While pressing the power button, hold down the “FEED” button.
The printer will start printing test information. Press the “FEED” button again. The red LED error light will start flashing.
Press the “FEED” button once more and the printer will print a sample. The red light should turn off. If it doesn’t, turn off the printer and open the cover to ensure the paper roll is correctly inserted. Close the lid and power the printer on to see if the error light went away.
8. Test Printer
It’s a good idea to test the printer before setting it up in Artisan. To do so, type “Control Panel” in the Windows search bar.

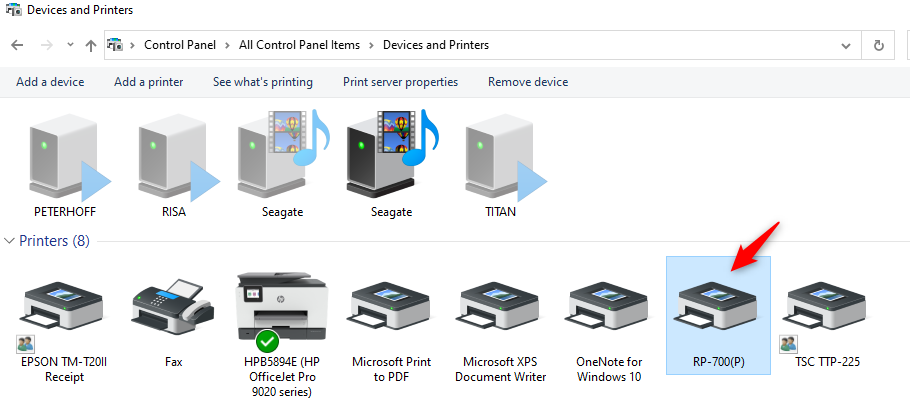
Click on “Devices and Printers.”

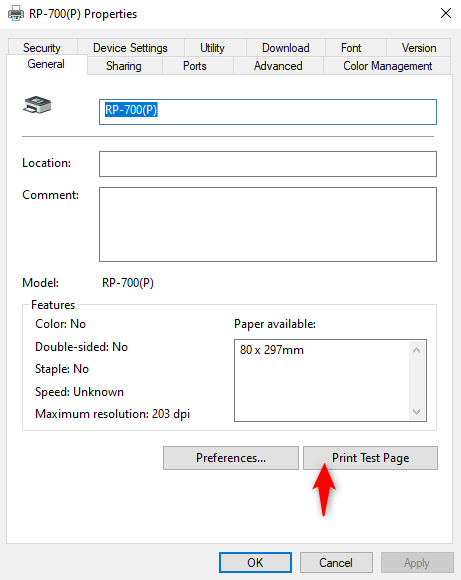
Locate the RP-700 printer. If the printer is grayed out, it might be turned off. Turn on the printer. Right-click on the printer and select “Properties.”
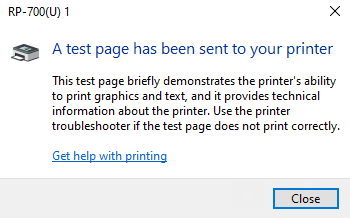
Under “General,” select “Print Test Page.”

To learn how to set up a printer in Artisan, click here.