This tutorial walks you through switching the Ingenico PIN pad from USB to Ethernet, and configuring the device in Artisan.
Once the device is plugged in and powered on, you’ll need to bring up the administrator menu.
Press “0001” on the PIN pad and press “1” to select “Communication Type.”

Press “2” to select “Ethernet.”

Press the red “X” button. The device will ask to save the changes. Press “Yes.”
Once the device finishes rebooting, press “0000” on the keypad. This brings up the “Unified Payment Platform” screen. We’ll refer to this screen later.

NETePay
Open the “Configuration Settings” screen and scroll down to “Business and Financial Settings.” Click on “Payment Processing Settings.”

Click on “Integrated Processing” for the first two drop-down selections.

Under “Payment Processing Method,” select “NETePay” from the drop-down. Enter your “Merchant ID or Host Capture ID” and the “Terminal ID.” These are located on your setup/VAR sheet from your processor, or CerTek.

Leave the listener host name and NETePay service to “localhost.”

Next, you’ll need to enter the “Terminal Device IP Address.” To find this, hit “0000” on the keypad and look for your IP address. We’ve blurred out our IP address for confidentiality.


Select your device from the “Terminal Device” dropdown.
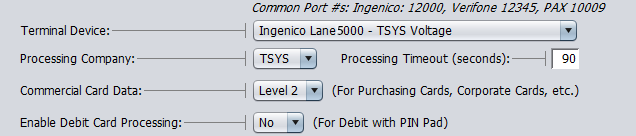
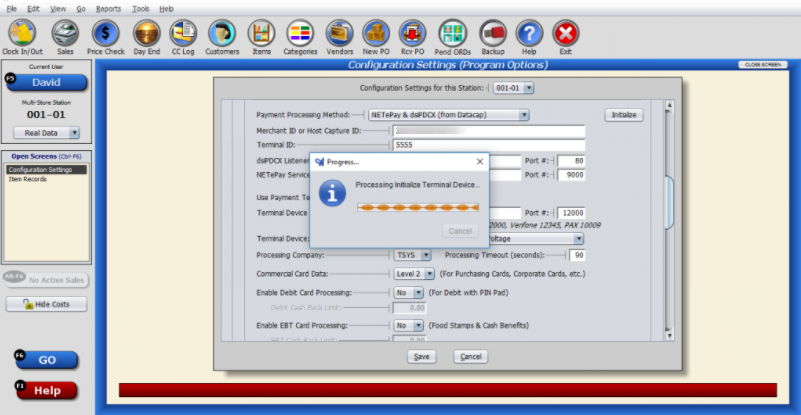
Press “Initialize.”

The Ingenico device should display a “wait” and “loading” screen, then will reboot. Artisan will display an “initializing” screen.
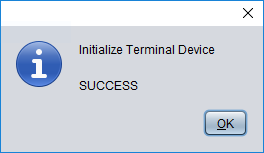
After the device reboots, you should receive a success message in Artisan.
Press “Save.”
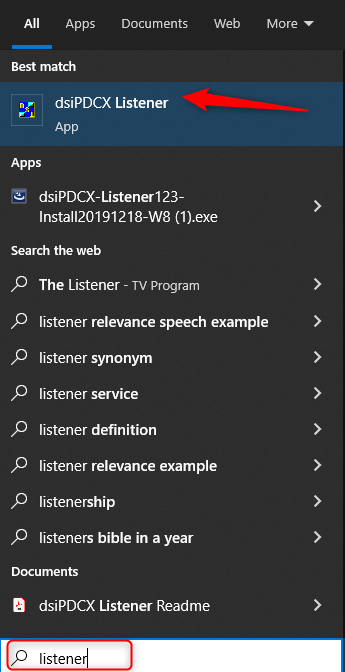
Make sure your Datacap listener program is up and running. Type “Listener” into your search bar and bring up the program. (The listener program must be running, even if you’re on a server).
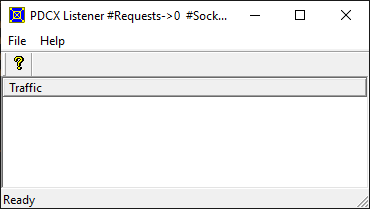
If you’re unsure how to download the program, or if the program is blocked by a firewall, click here.
Test The Device
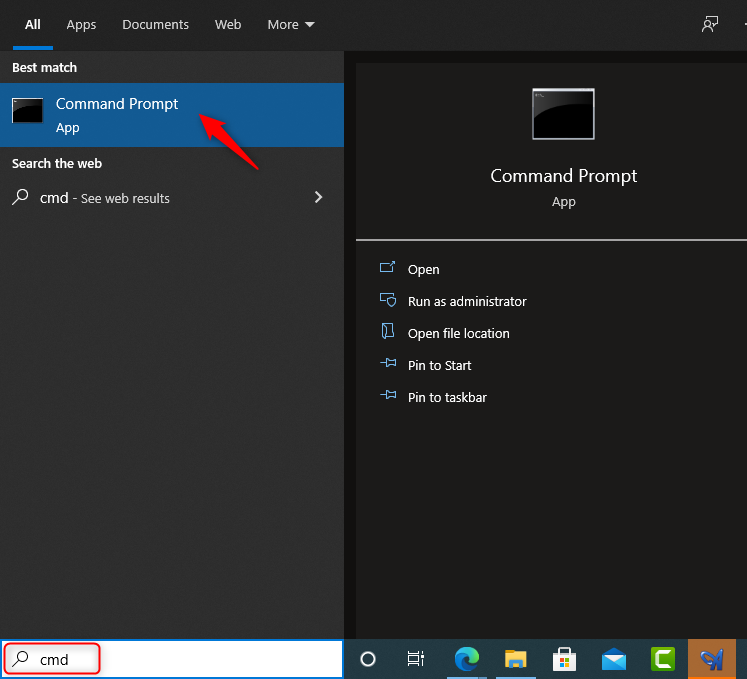
To test that the PIN pad is communicating with Artisan, open a command prompt window. Type “CMD” in your search bar.
Type “ping” followed by the device’s IP address. The command prompt will start running. We’ve blurred out our IP address for confidentiality.

If the communication is successful, the command will display replies from the device to Artisan.
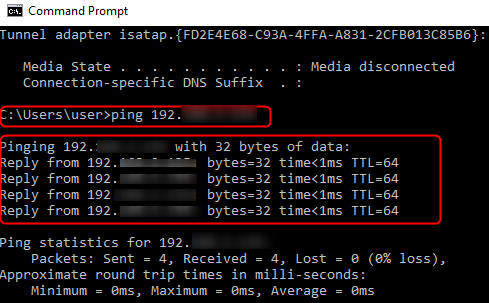
(If the communication isn’t successful, you will receive “destination host unreachable” replies. Make sure you entered the IP address in correctly).

The device should now be ready to use.

Setting Up Payment Profiles
If you’re utilizing multiple payment processors (ex. station 1 is set up to use NETePay, while station 2 needs to use DC Direct), you’ll need to add payment profiles.
Click on the Payment Profile dropdown and click on “Edit List.“

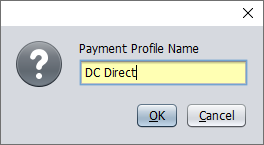
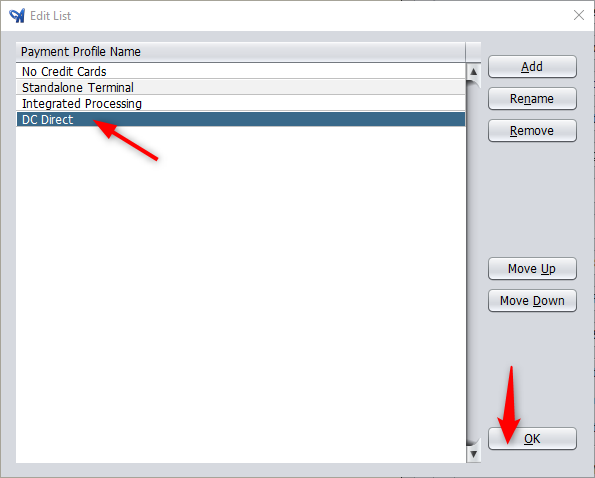
Click on “Add.”

Give the profile a name and press “ENTER” on your keyboard.
The profile is added to the list. Select it and press “OK.“
The new profile will be available to select from the drop-down.

DC Direct
This section is under construction.
With your payment profile selected, click on “DC Direct from Datacap” as your “Payment Processing Method.”

Enter your “Merchant ID or Host Capture ID” and the “Terminal ID.” These are located on your setup/VAR sheet from your processor, or CerTek.
