If you have items that need to be sold together, you might want to sell them as a Kit. A few examples are gift baskets, art supply boxes, jewels, metal, beads, etc. to make jewelry, furniture sets, flower arrangements, and more.

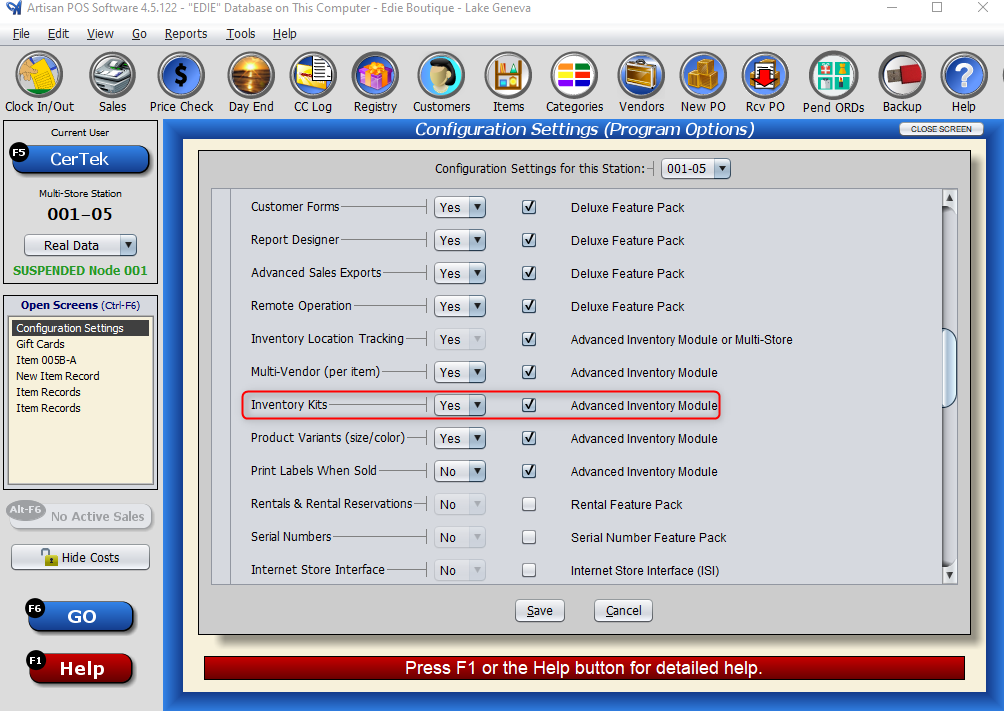
Note: Inventory kits require an Advanced Inventory License. You must have this feature checked off in your “Configuration Settings” in order to make kits. Head to “Program Options,” “Tools,” and “Optional Features” to turn this feature on or off once you have the license.
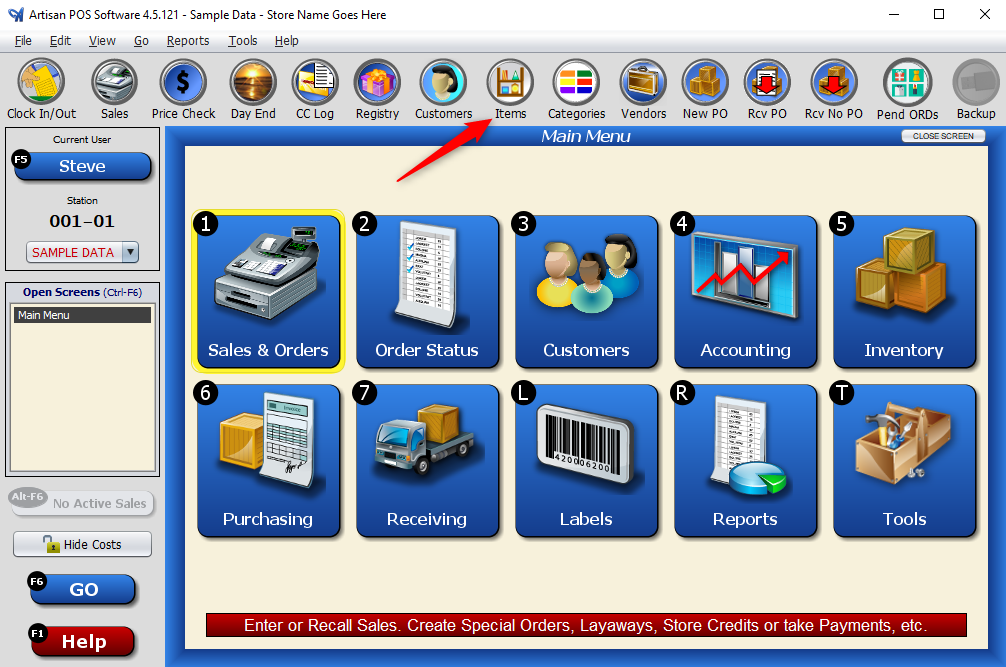
To add an item into a Kit, click on “Items.”
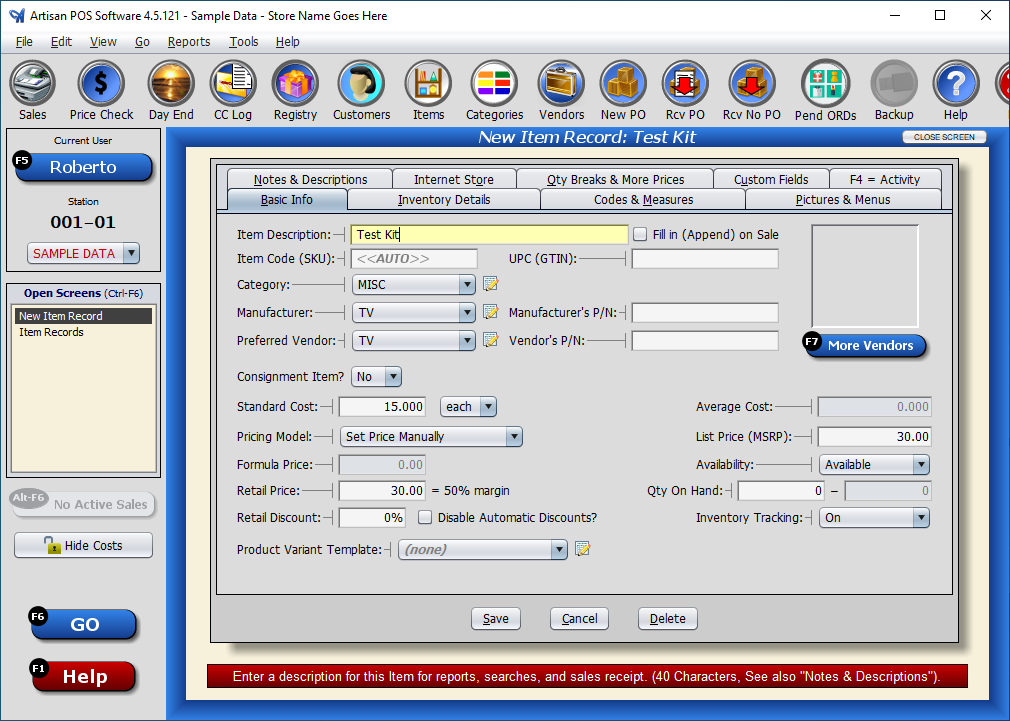
Create a new inventory item (for example, “Easter Basket“). Select the “Inventory Details” tab.
On the “Inventory Kit?” drop down, select “Yes.”

Under “Kit Details,” determine the shipping weight method and if you want the individual kit items to display on purchase orders.
Enter the item(s) by typing in the product’s item code. Enter the quantity. Click “Add” as needed to add more line items. Select if you want the items to be visible on packing slips.
The Inventory Tracking mode is the key to determining if this item is an assembly or a collection. An assembly is, say, a gift basket, where you physically move components and group them into a new distinct product that you can put on the shelf and perform a physical count on. When you increase the quantity of this kit, the component quantities are reduced and the assembly is increased. You can “Build a Kit” or “Un-Build a Kit” when you reduce the quantity.
A collection is convenient for selecting and pricing various items together, such as a furniture set. You still have a couch that you can sell individually, but you can sell a whole group for a special price. Physical counts would be done on each item individually. For this type of kit, make sure you turn off Inventory Tracking.
You can opt to turn tracking on or off (if you have the inventory tracking feature enabled). With tracking on, you can add quantities to the basic info tab and it will automatically add the component item records to build the kit. Turning tracking off will leave the quantity on hand of the items as is.
If you have “Inventory Tracking” turned on, a prompt for “Build Kit” or “Received New Item” will show up when you try to increase the QoH of a Kit Item.
Select “Build Kit” to reduce the QoH of the Kit items. If this is a new product that is being received or built, select “Received New Item.”

Press “Save.”