
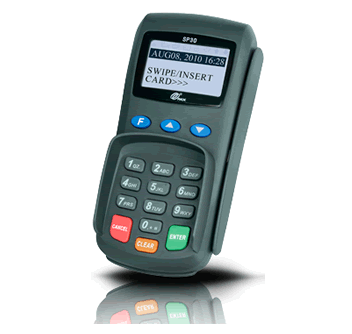
This article shows the PAX SP30 Payment Terminal from Payment Logistics in the following order:
- The SP30 device
- Checking network settings
- A normal sale
- A keyed (manual card entry) sale
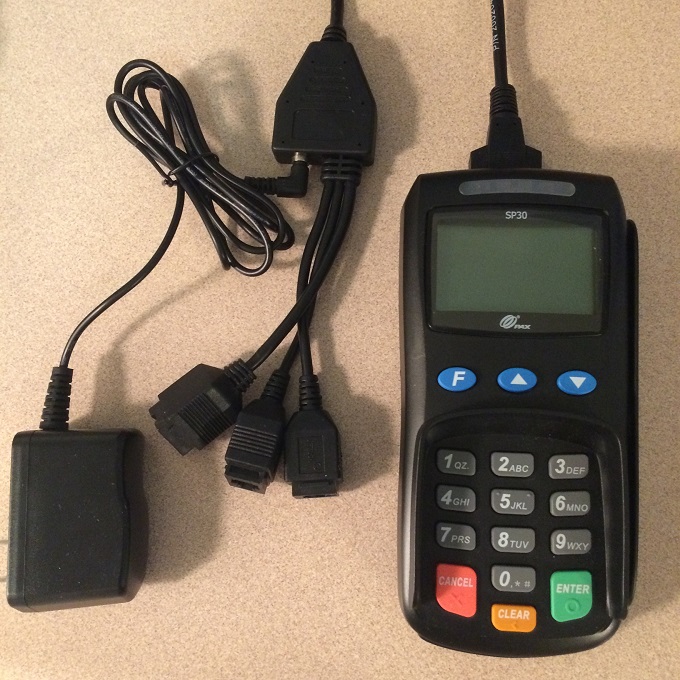
What does the device look like?
Checking Network Settings
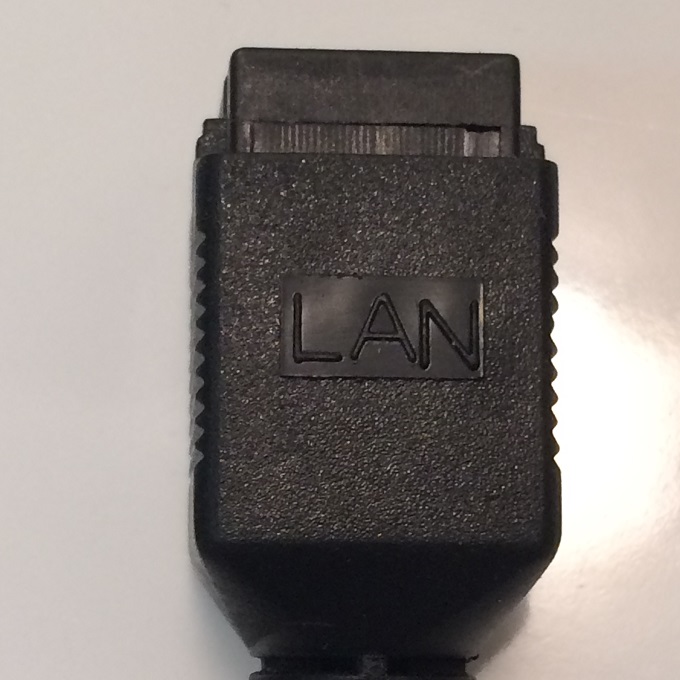
First make sure the “LAN” cord is identified. This is the one that would be used to connect the device to the network.
Once you’ve plugged the device into power and your network (LAN), you’ll need to read out its network settings for Payment Logistics to use to configure your Client software. Follow the images in this section to navigate to the Network Settings screens on the device. Payment Logistics will help you with the rest of the setup.
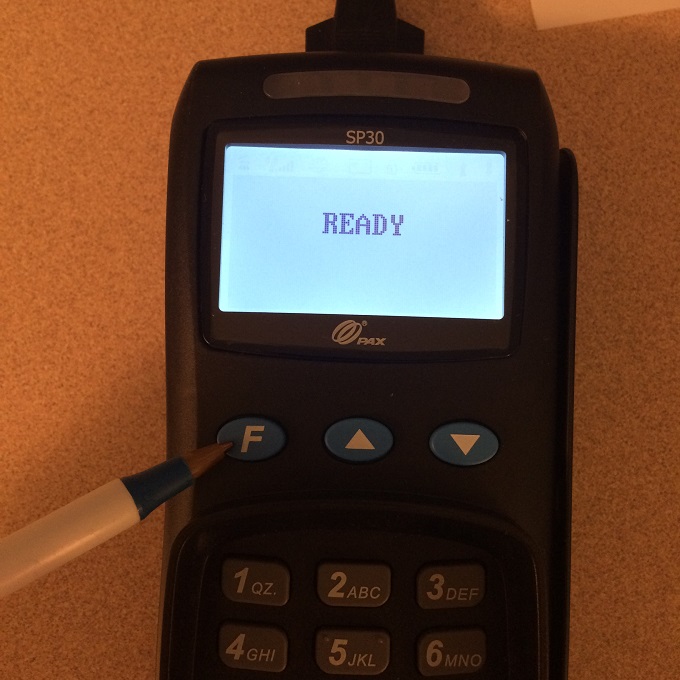
Check for the “Ready” Message:

Enter the setup screen:
To enter the setup screens on the SP30, press the ” F ” key on the upper part of the device. It will prompt you for a password. The password is today’s date (or sometimes tomorrow’s date), as 4 digits: mmdd.
Enter your password:

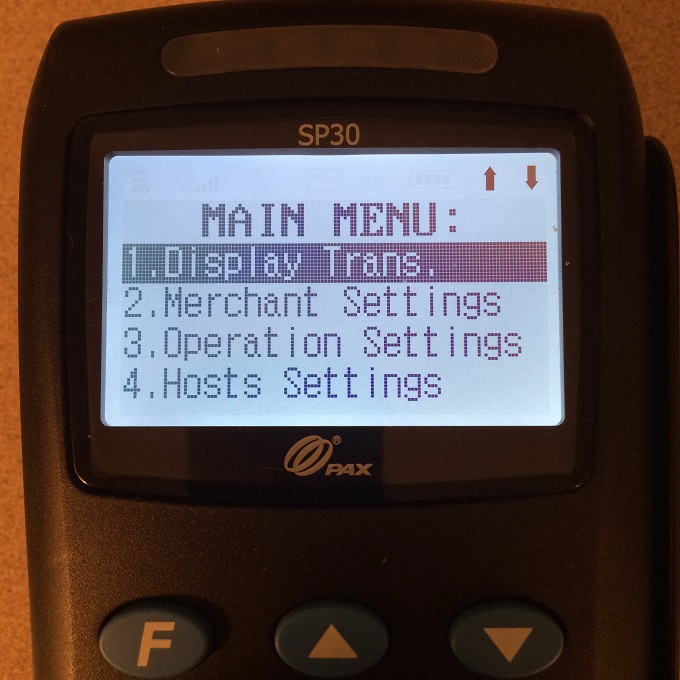
Main Menu:
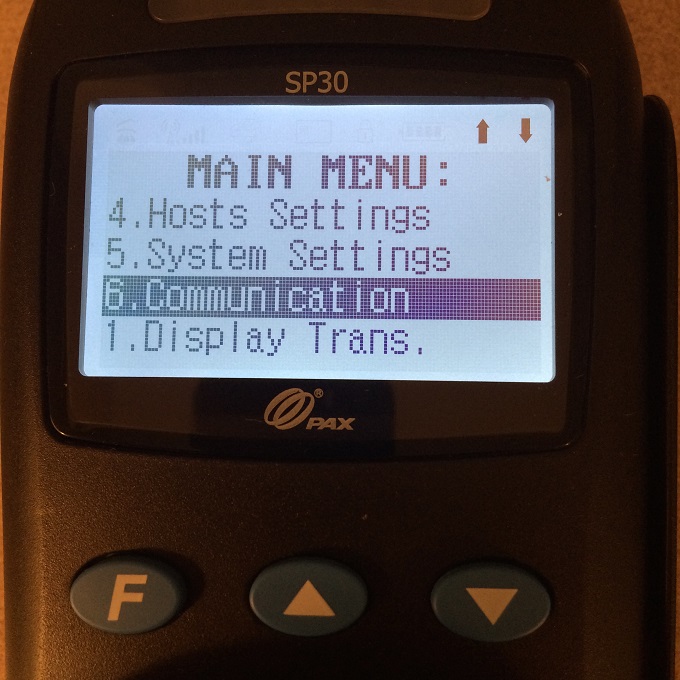
From the Main Menu, select “6. Communication”.
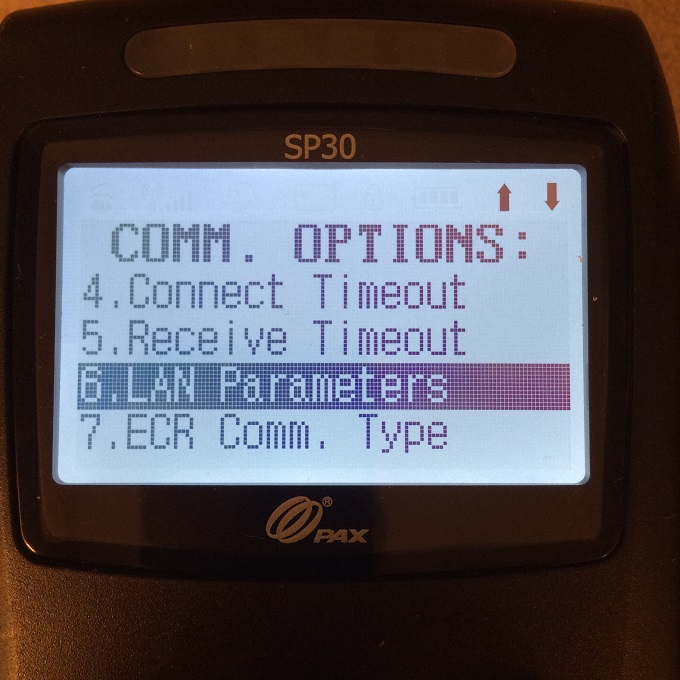
Communication Options:
Then select “6. LAN Parameters”.
Check the Network Settings:
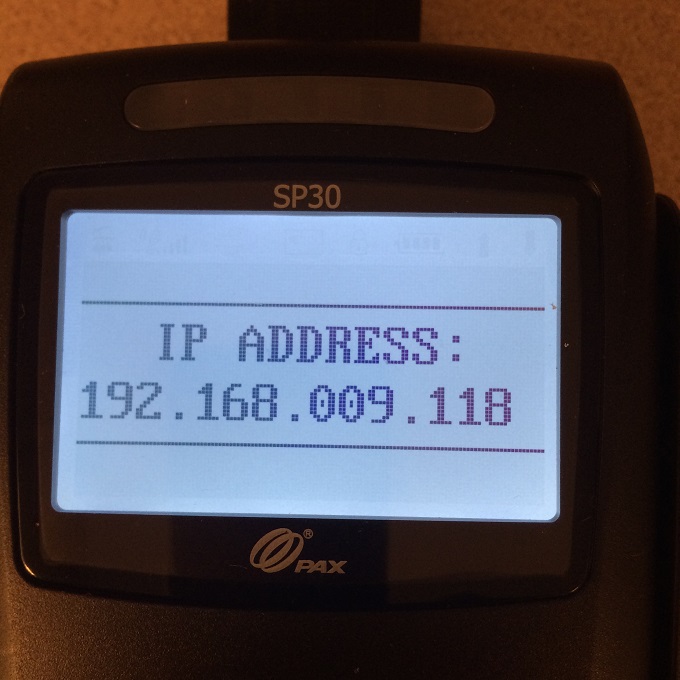
Network Settings you need to give Payment Logistics to finish the configuration: IP Address, Subnet Mask, Gateway IP, and DNS IP.

Network Settings:
Payment Logistics may only your IP Address. It should appear on your screen now.
Processing a Payment: Doing a Normal Sale
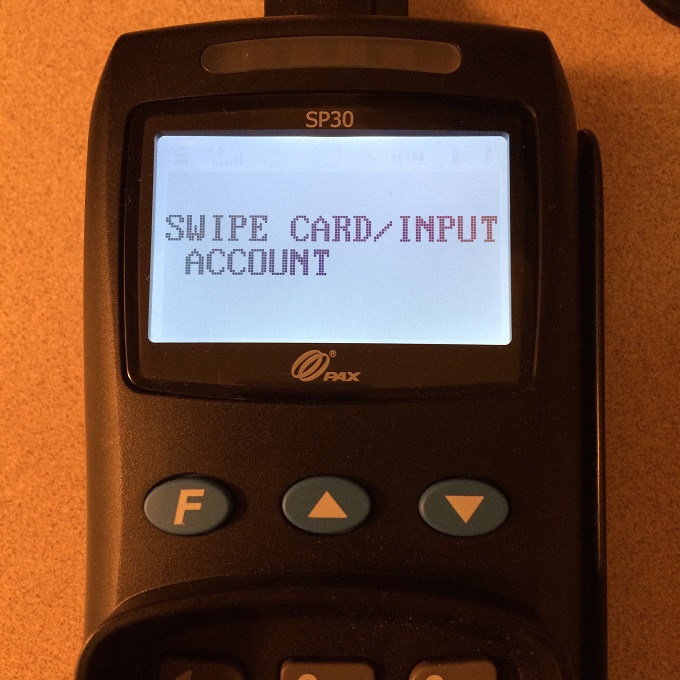
Once the device is set up properly, and Artisan POS and the PaygistiX Client are installed and configured correctly, you can ring up a sale through the POS. You’ll see a screen similar to the following, on the payment terminal device:
Device is ready to take a payment:
Once EMV is enabled, if the credit card has a chip in it, you can insert it,chip first, in the slot at the front of the device, under the keyboard. Otherwise, swipe it in the magnetic stripe reader slot on the right side of the device (up-down or down-up).
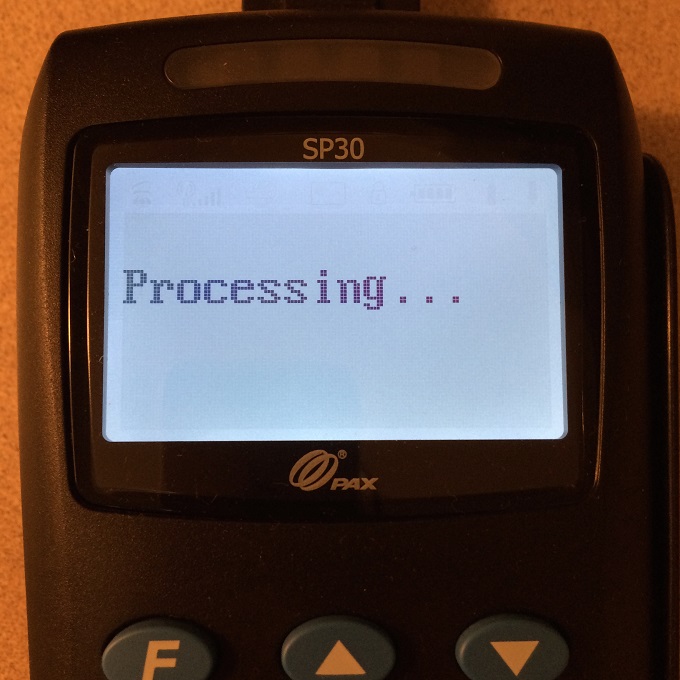
Transaction is processing now:
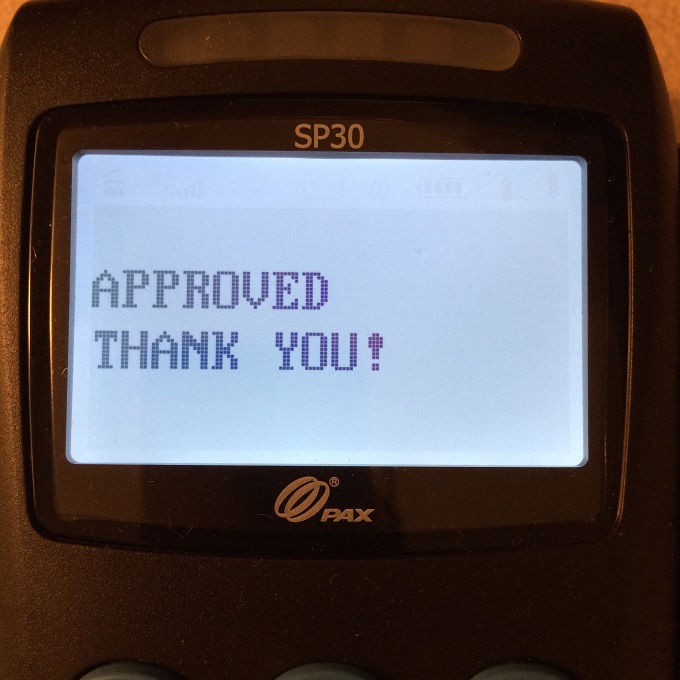
Thank You message (Transaction Approved):
Processing a Payment: A keyed (manual card entry) sale
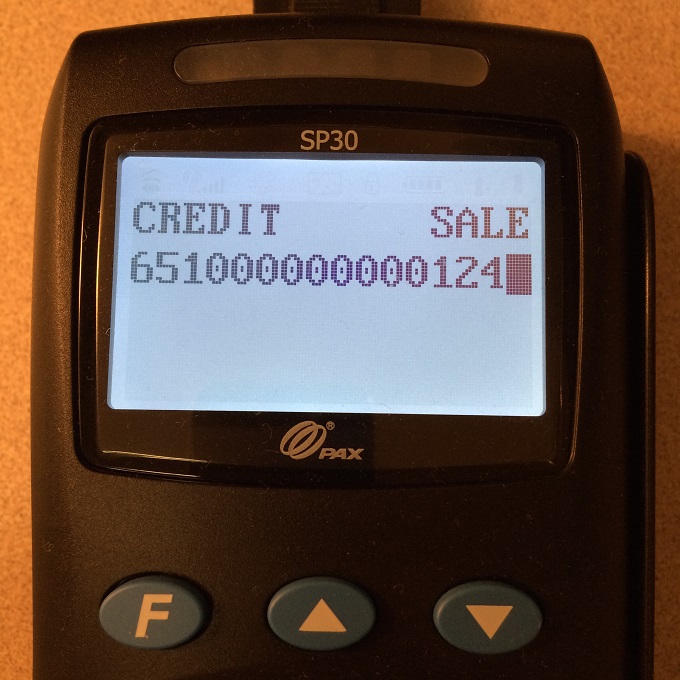
If the card doesn’t read correctly, or you’re taking a phone order w/o the card present, you’ll have to enter the card info manually. (Also called a “Keyed” transaction.) You still use the Payment Terminal Device, but instead of swiping a card, start typing the card number on the keypad. This will take you to the Card Number screen, and then other manual card info screens. After each one, press Enter.
Enter Card Number:
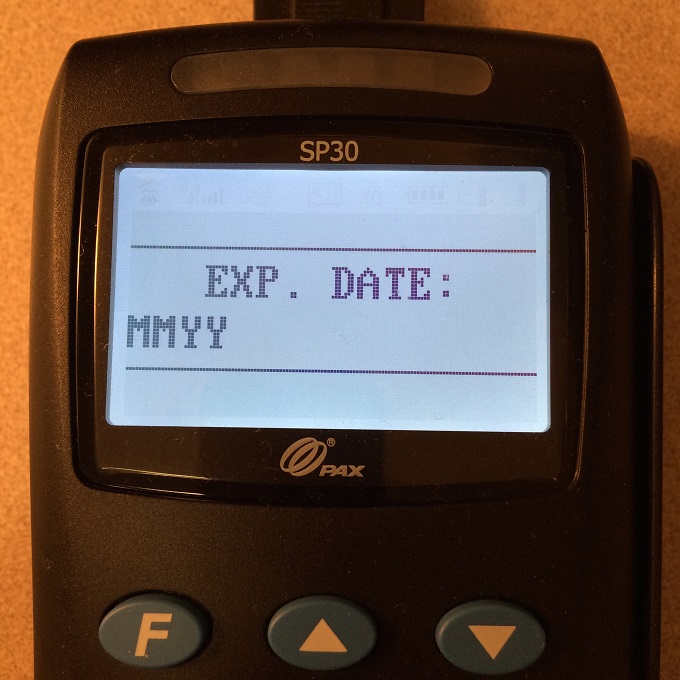
Enter Expiration Date:
Enter security code (“CID”, a.k.a. “CVV Code”):
If you leave the security code blank, you may be prompted for the reason (such as “illegible”).

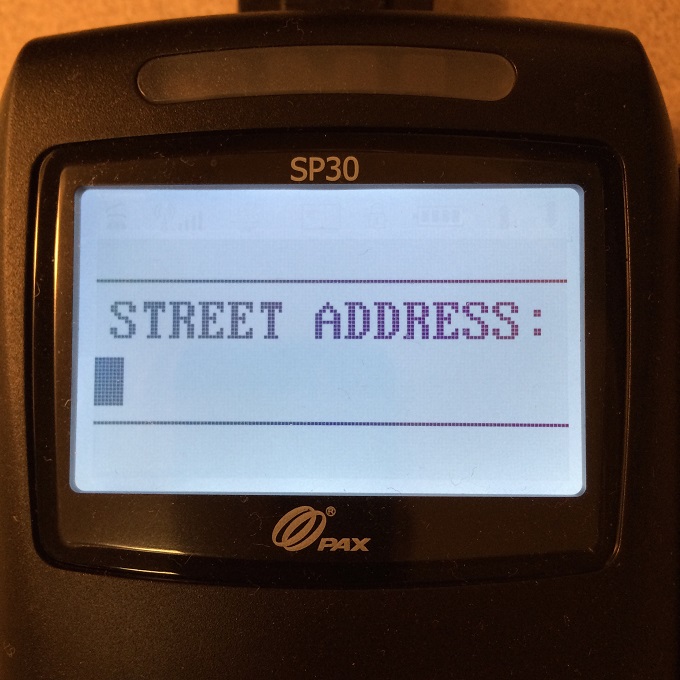
Enter CC Billing Address (just the numeric part of the street address):
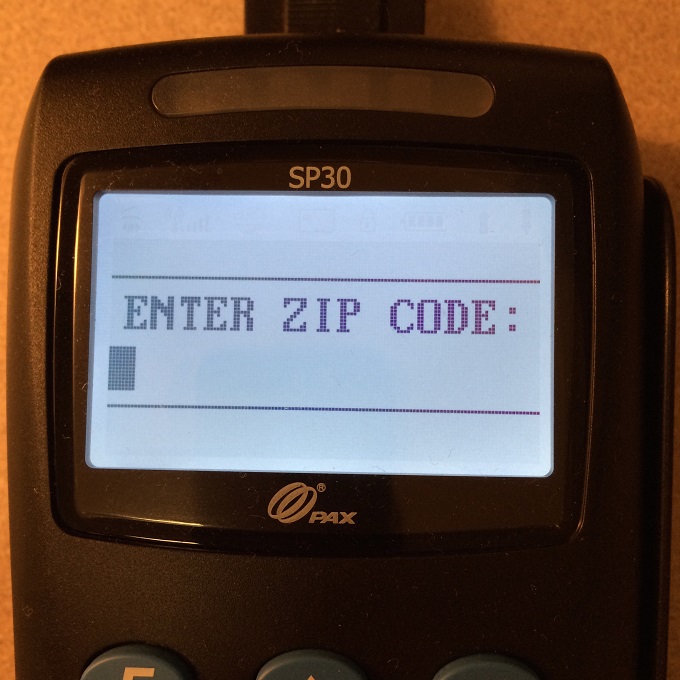
Enter Zip code:
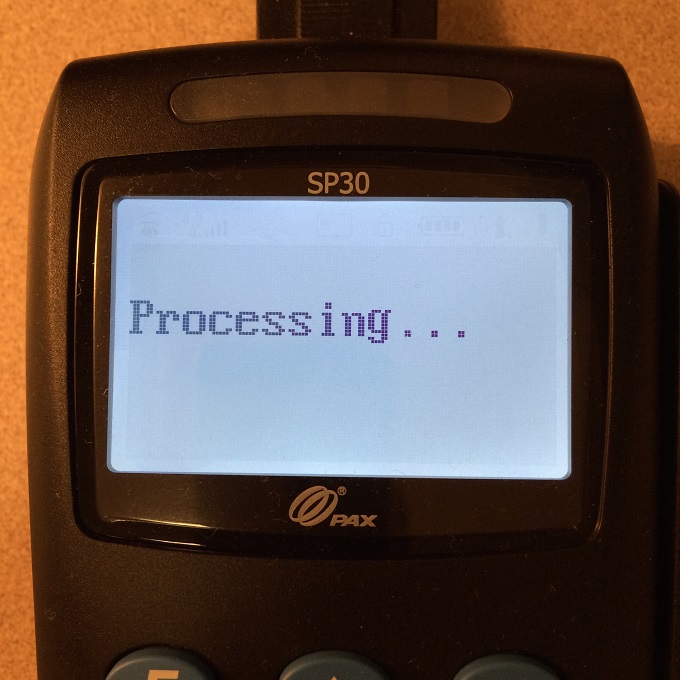
Processing Transaction:
Thank You message (Transaction Approved):