
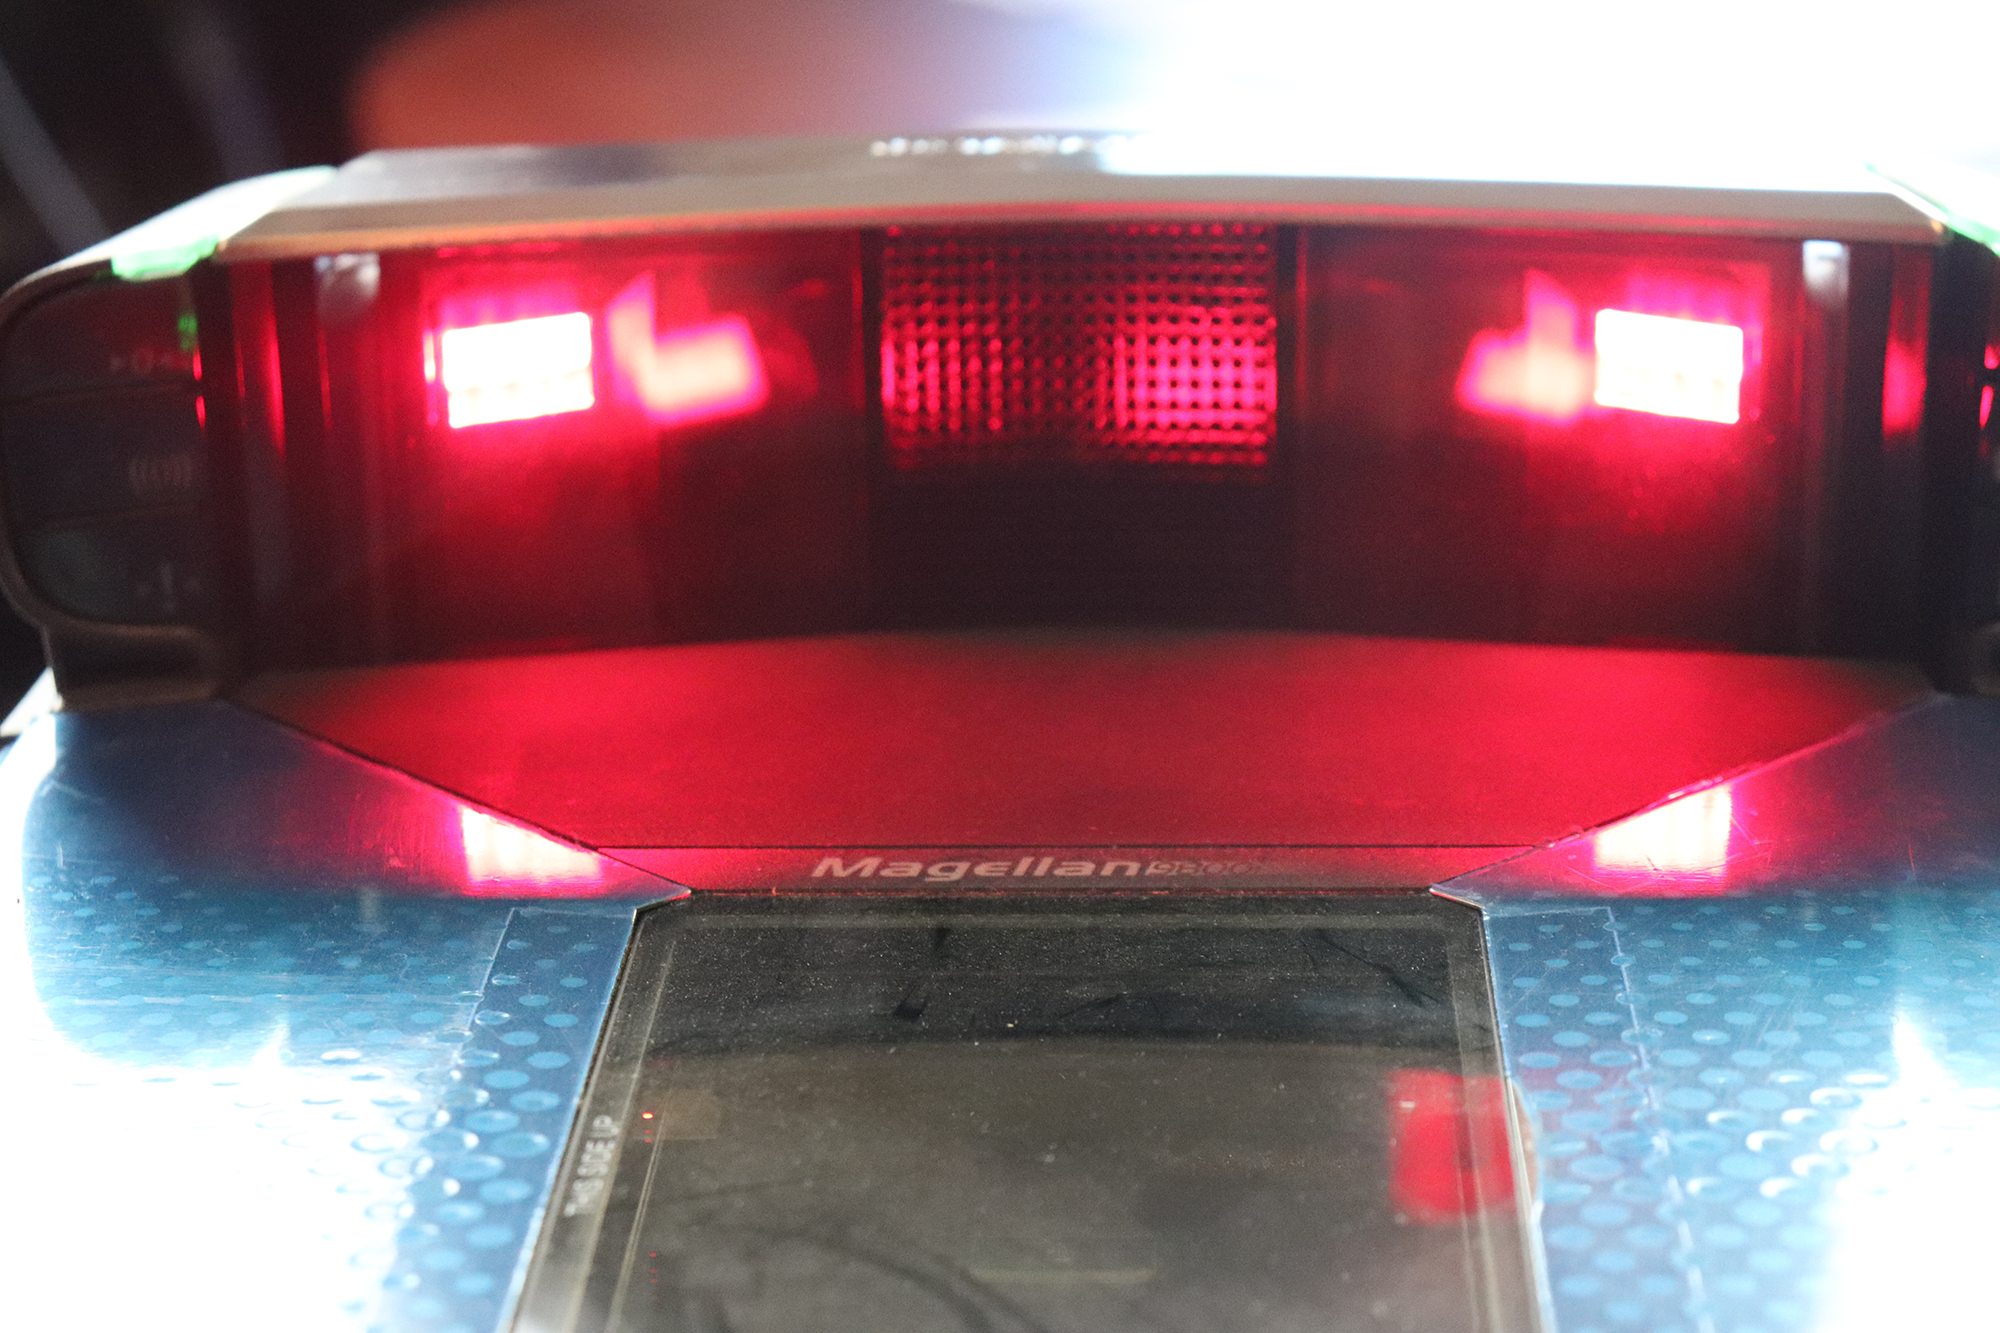
The Magellan 9800i is an efficient, modern scanner perfect for fast-paced industries. With the ability to scan items hands-free, this model is sure to keep the checkout lines running swiftly all day long.
The Magellan 9800i scans 1D and 2D barcodes, including UPC codes, driver’s licenses, and QR codes.

In order to use this scanner with Artisan, it must be configured properly. Follow these steps to learn how.
Setting Up Scanner
1. Unbox the scanner and gently place it on a flat, even surface. Unbox the power supply and the scanner interface cable. Do not plug the power cord into an outlet yet.
Note: Remove any plastic wrapping from the device.
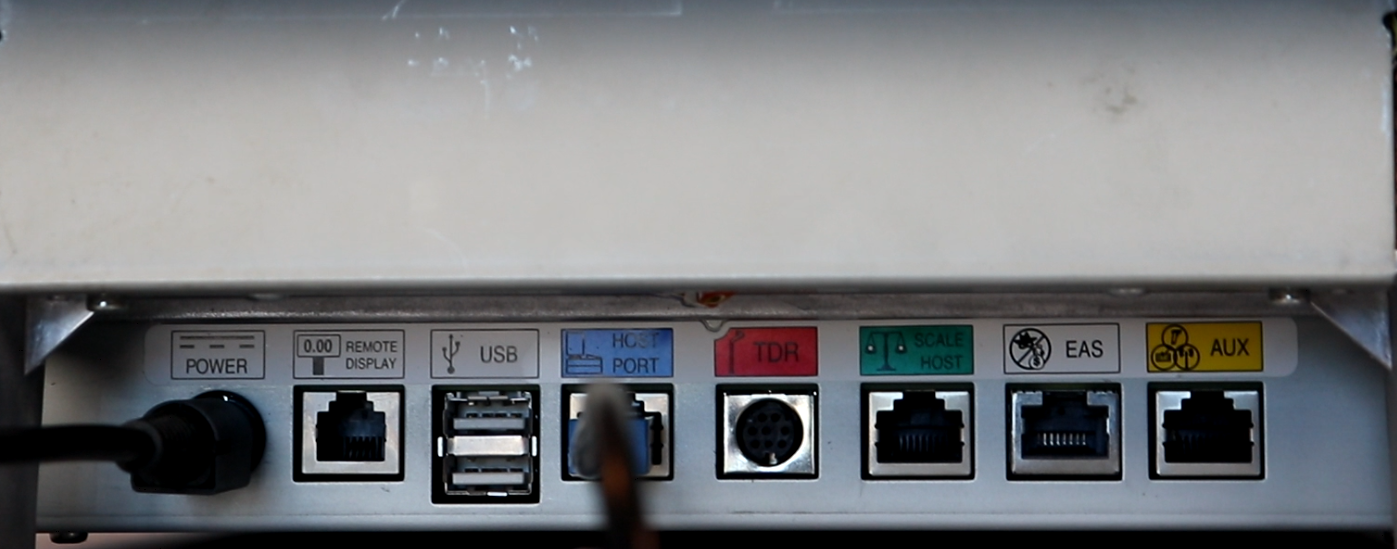
2. Plug the power supply cable into the power port. Plug the other end of the cord into the power supply.
3. Locate the interface cable and plug it into the “Host Port.” This should be a blue-colored port. Wait until after step 13 to connect the interface cable to your computer (or USB hub).
5. Connect the power supply to an outlet.
6. The scanner will take a few moments to power on. A start-up jingle will sound.
8. Now, you’ll need to scan a few barcodes. When scanned, the scanner should flash a green light and emit a beep.
Please fold over the paper to make sure only one barcode is displayed at a time. The scanner is very sensitive and will pick up multiple barcodes if they are on the same page. Hold the barcode at the proper scanning distance–usually a few inches from the laser. The scanner will beep once each barcode is scanned.
9. The first barcode is the “Factory Reset” barcode. This will restore the scanner to factory settings.

10. Next, scan the “Enter/Exit Programming Mode” barcode.

11. Scan the “Interface = USB Keyboard” barcode.

12. Scan the “Label ID Control = Disable” barcode.

13. Scan the “Exit/Enter Programming Mode” barcode to leave the programming mode.
Now, you may plug the interface cable into the computer. The scanner is now ready to be configured with Artisan.
Configuring in Artisan
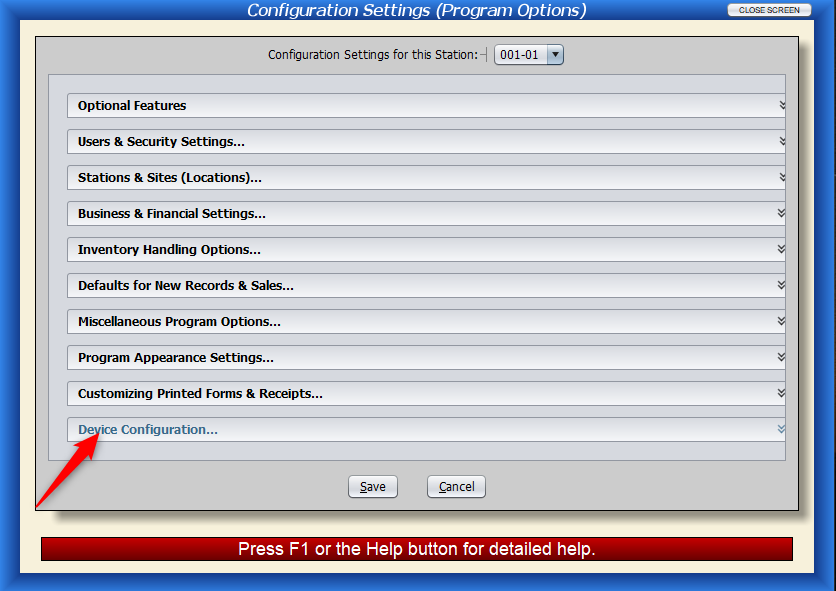
1. In Artisan, open “Device Configuration” (within “Program Options.”)
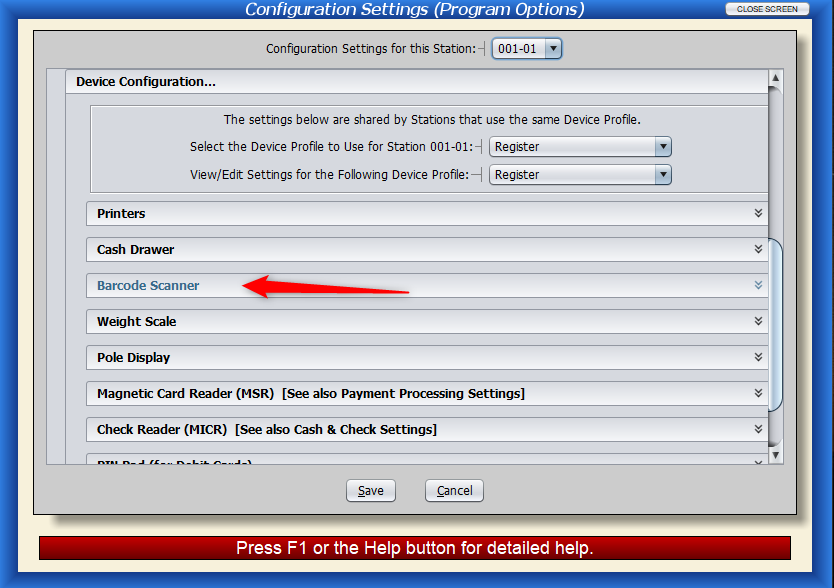
2. Open “Barcode Scanner.”
3. In the “Barcode Scanner Port” section, select “Keyboard Emulation.”

4. Set “Disable?” to “No.”

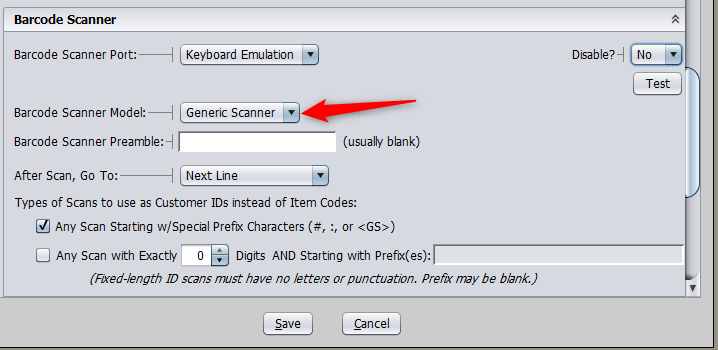
5. In the “Barcode Scanner Model” section, select “Generic Scanner.”
6. Leave the “Barcode Scanner Preamble” blank.

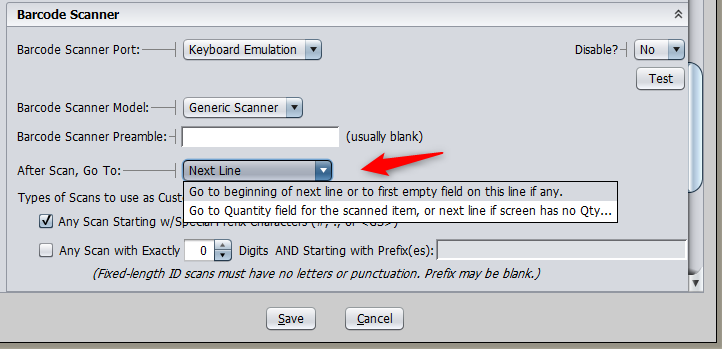
7. Determine if you want Artisan to move to the next line or an empty field after scanning a code, or to a quantity field.
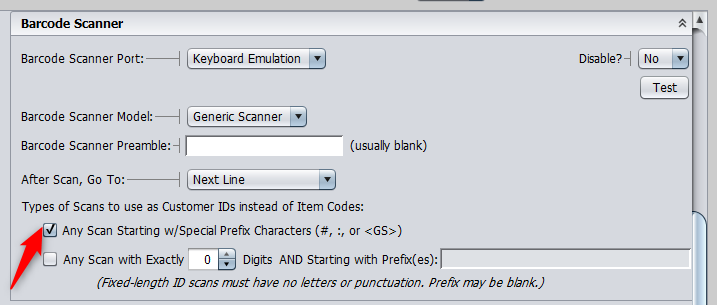
8. For now, make sure “Any Scan Starting w/ Special Prefix Characters” is checked off. You may select the other option instead later on, if necessary.
9. Press “Save.”

The scanner is now ready to be used with Artisan.