
There are a few instances where you might need to use the Return to Vendor Function. Maybe a vendor sent too many products and you need to return the item to them, or you accidentally marked an item as received (ex. you entered a quantity for an item as “2” but meant to enter the quantity as “1”).
Return to Vendor can be done in batches on the Sales Screen or individually within the Item Record.
Watch this video or read the instructions to learn how.
From the Sales Screen
On a new sale window, change the “Sale Type” dropdown to “Return to Vendor.”

Scan or type in the item code(s) of the item(s). Enter the quantities going back to the vendor (or the excess units that were incorrectly received). Press the “Finalize” button.

Press “Save.”

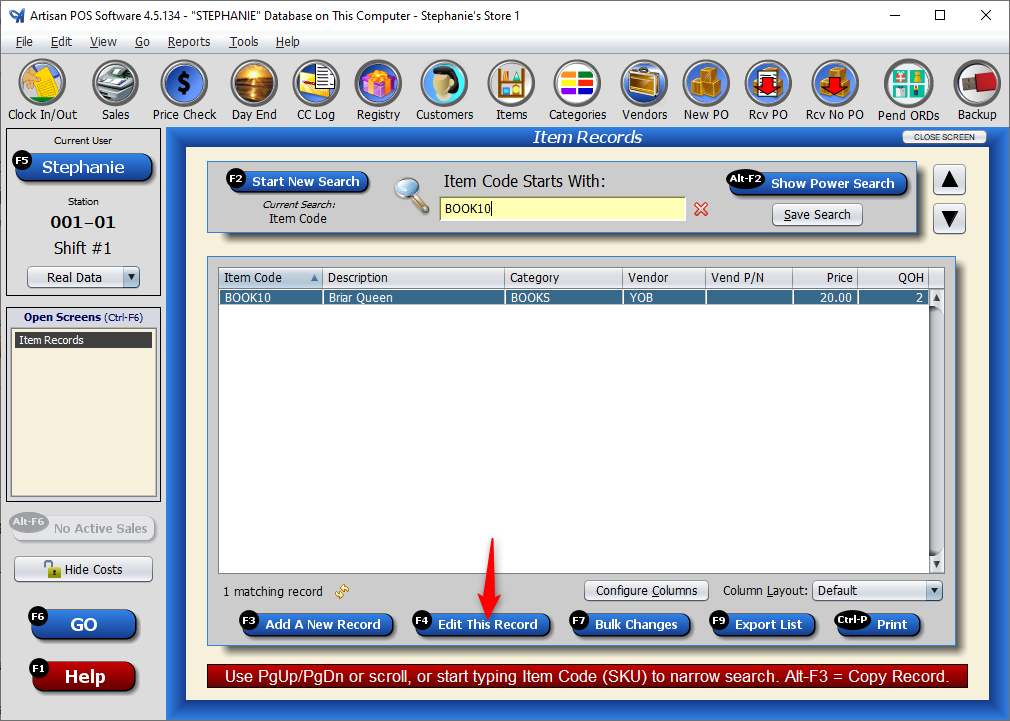
From the Item Records Screen
Edit the Item Record.
Reduce the quantity.
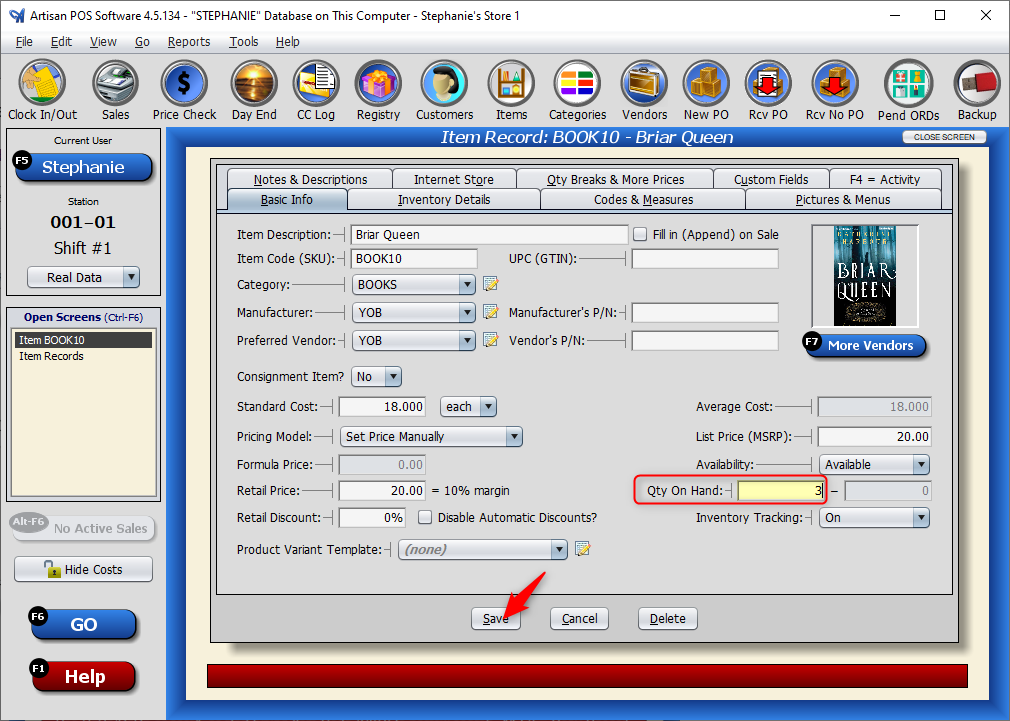
For the reason it was adjusted, select “Returned to Vendor.”
